| Issue | 
Overview
The POP Assessor Dashboard (PAD) allows you to manage your test bookings, such as starting or downloading a test, and marking candidates as absent.
The Offline Dashboard allows you to start tests for your candidates, mark candidates as absent and upload completed tests.
The Pearson Offline Platform is a required piece of software. If this is not yet installed, please navigate to the installation guide.
POP Assessor Dashboard (PAD)
Please click below to expand each section and view support:
Logging into PAD
|
Please follow the steps below:
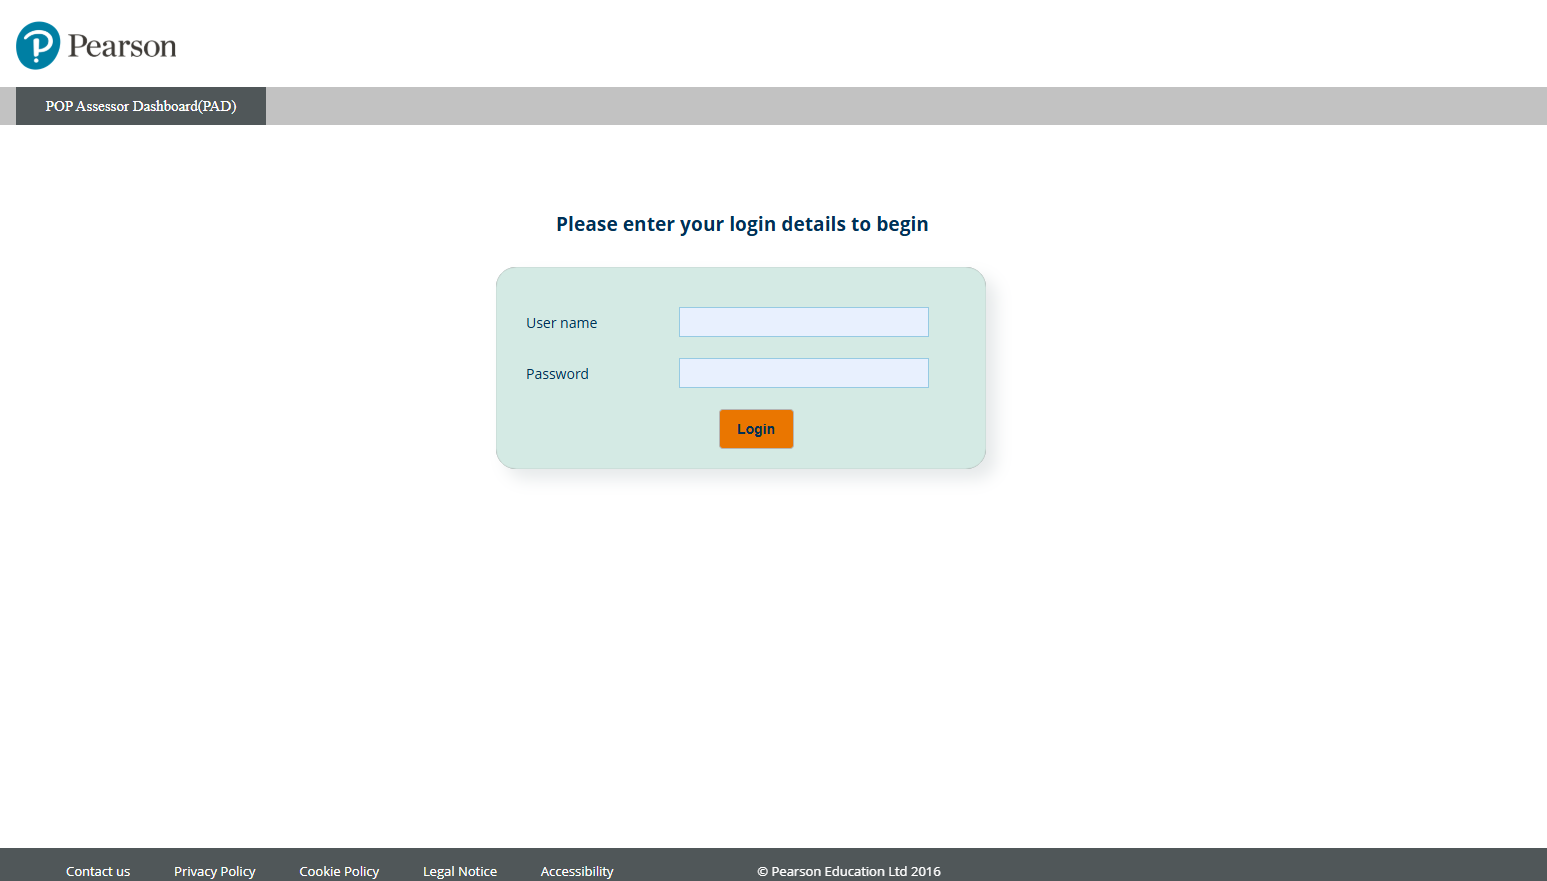
- Log into the POP Assessor Dashboard (PAD) using the following link - https://btecng.pearson.com/pqs.web.ccpd. Enter your User name and Password to log in:
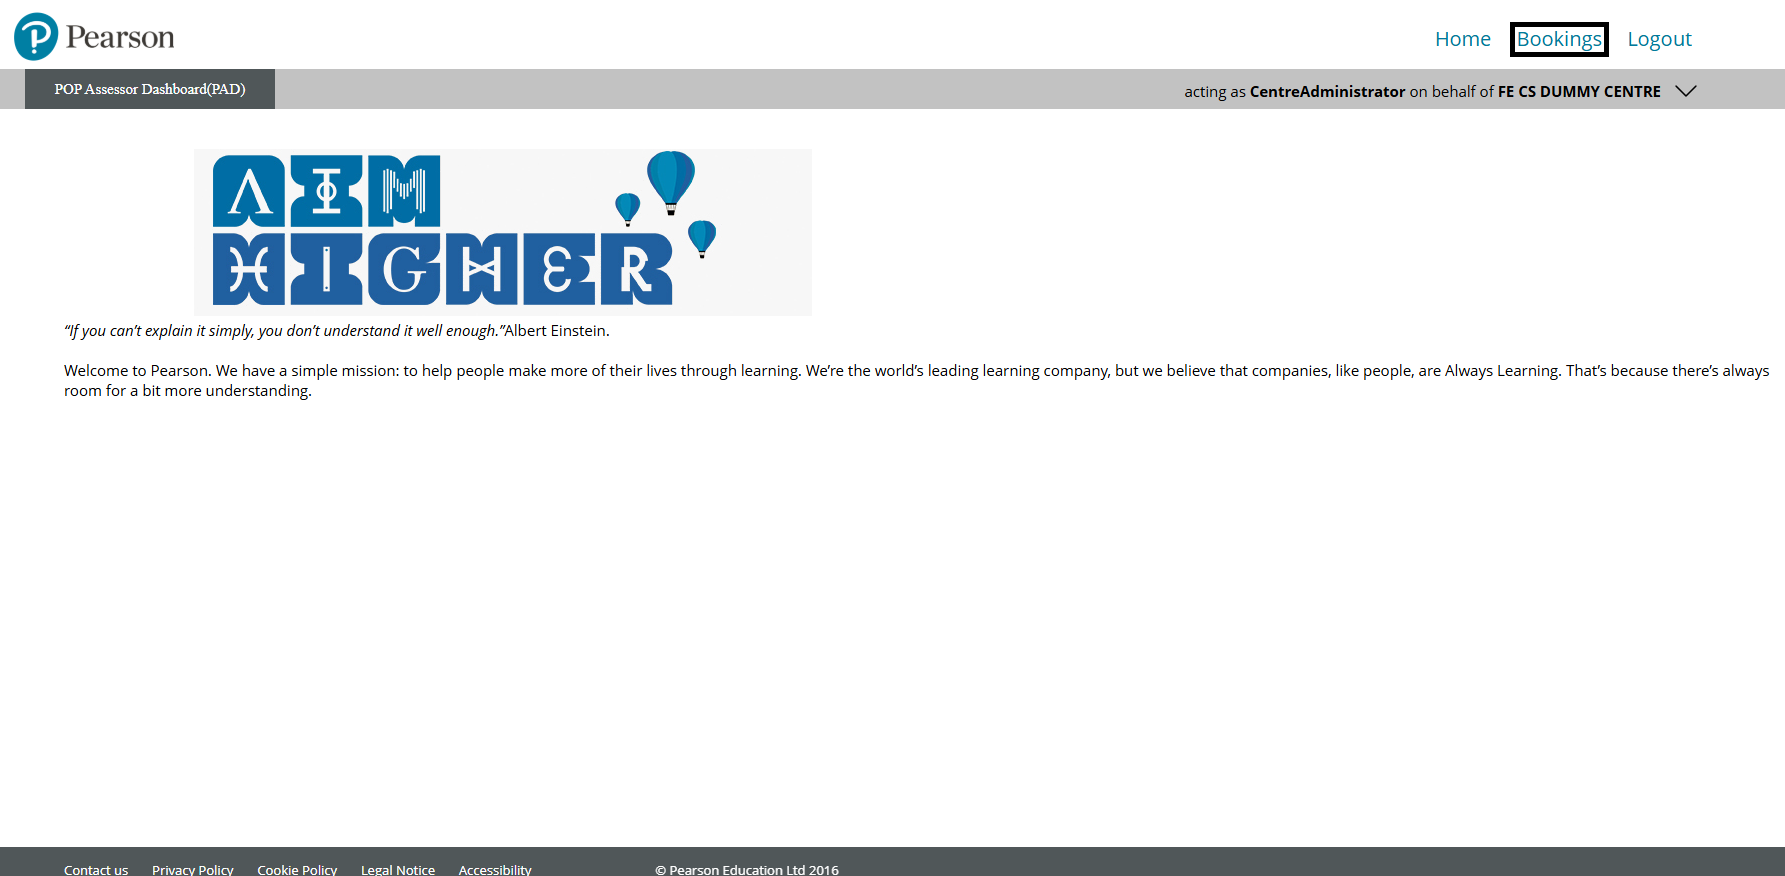
- Upon first login, you may be taken to the Home page. Clicking on the Bookings option will take you to the main bookings page:
Please note: If you do not yet have login credentials for PAD, please ask your Examinations Officer to complete a declaration webform. A link to this can be found in the support index.
|
|
Creating a PIN
|
Please follow the steps below:
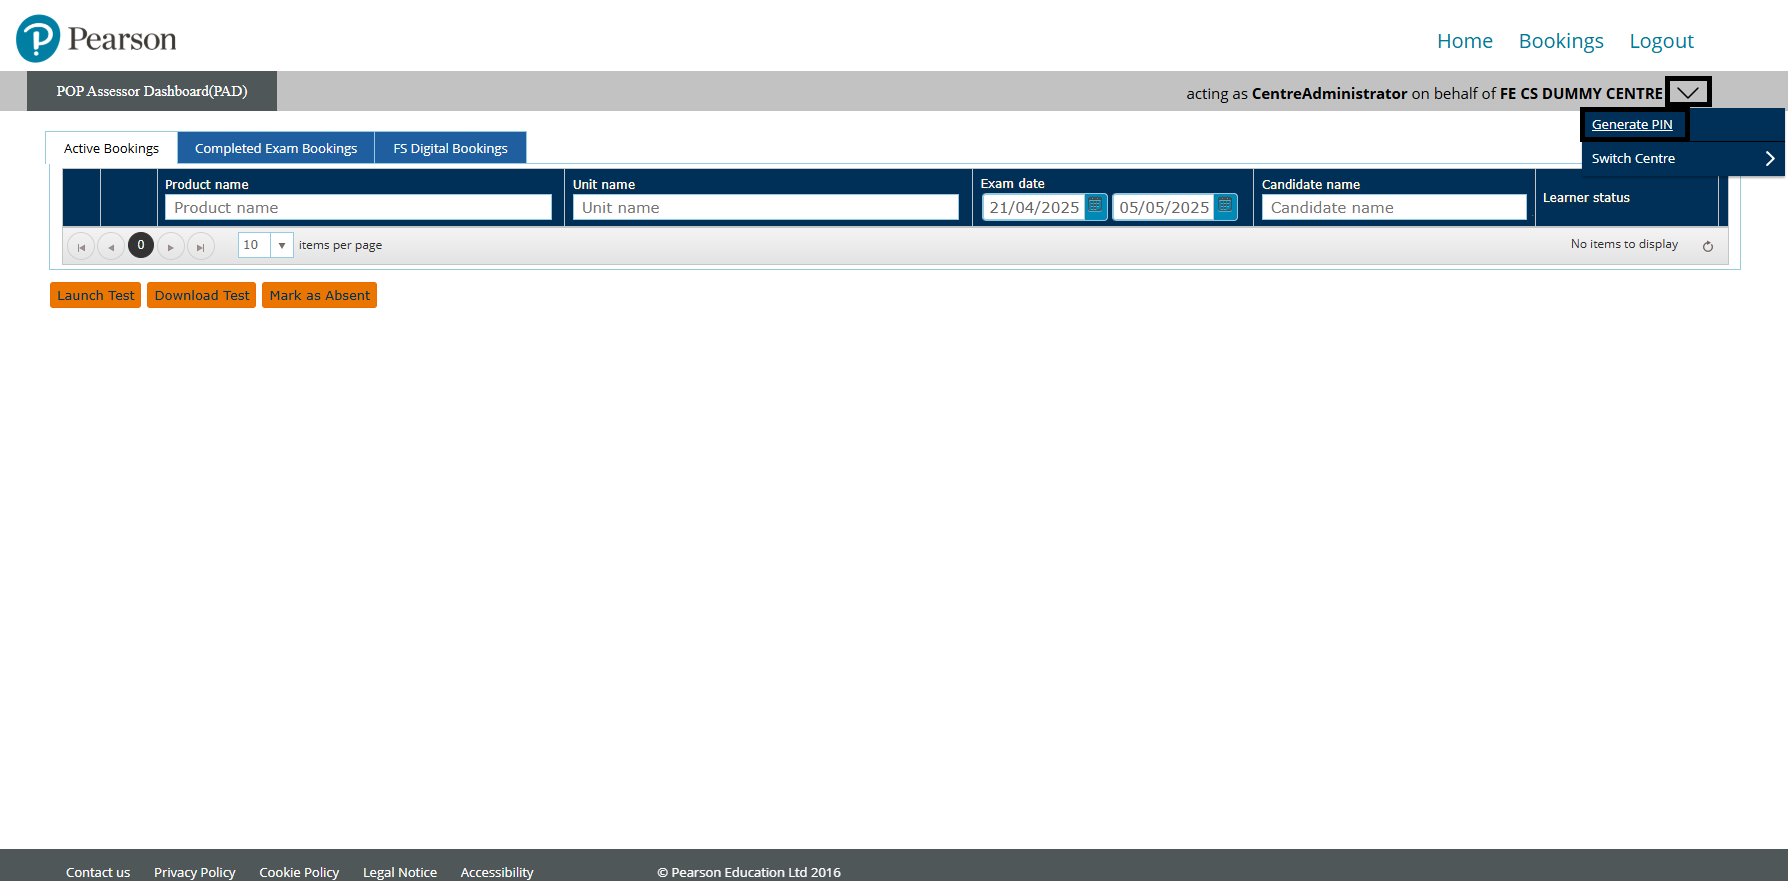
- Click on the 'dropdown arrow', found towards the top-right of the page. Select 'Generate PIN' from the options that appear:
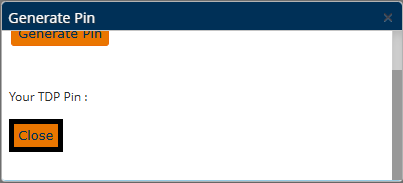
- A pop-up box will appear towards the centre of the screen. Click the 'Generate Pin' button, which will generate a 4-digit PIN underneath:

If you have already generated a PIN previously, this will be displayed within the pop-up box.
- Scroll down the pop-up box and click 'Close' to go back to the main Bookings page:
Please note:
- Generating a new PIN is only required when you are logging into the PAD for the first time or you suspect that another person has knowledge of your PIN.
- The PIN is required to be able to access the Pearson Offline Dashboard.
- If you generate a new PIN, your previously downloaded tests will need to be re-downloaded.
|
|
Managing bookings in PAD
|
Please select a process to expand and view:
View Active Bookings
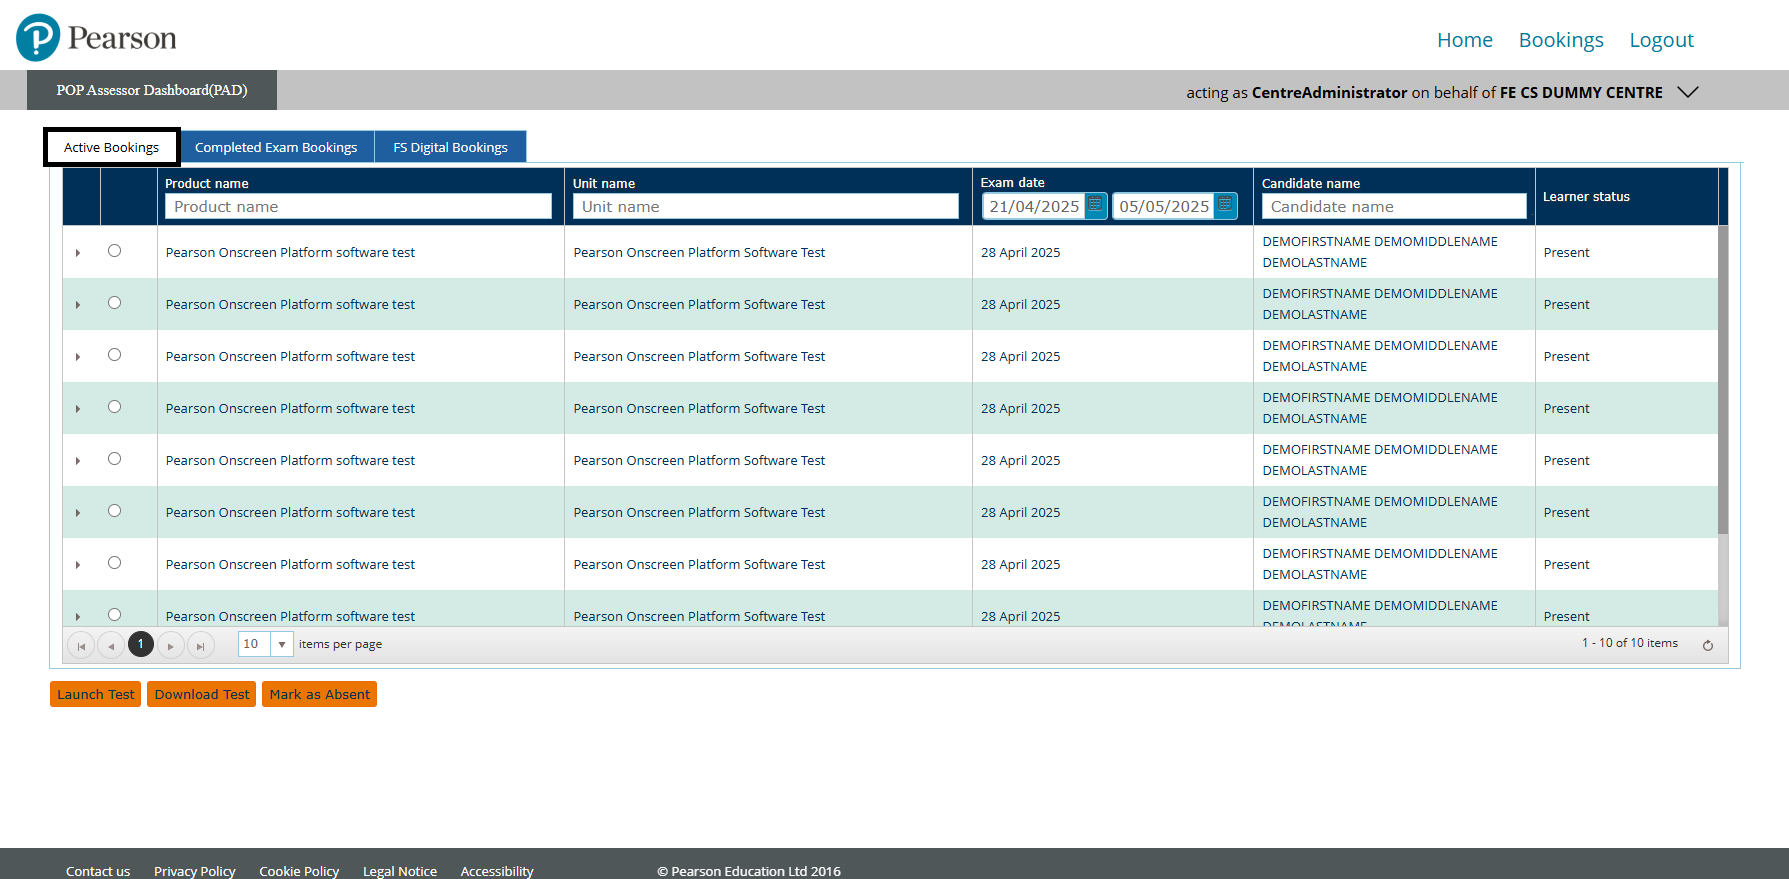
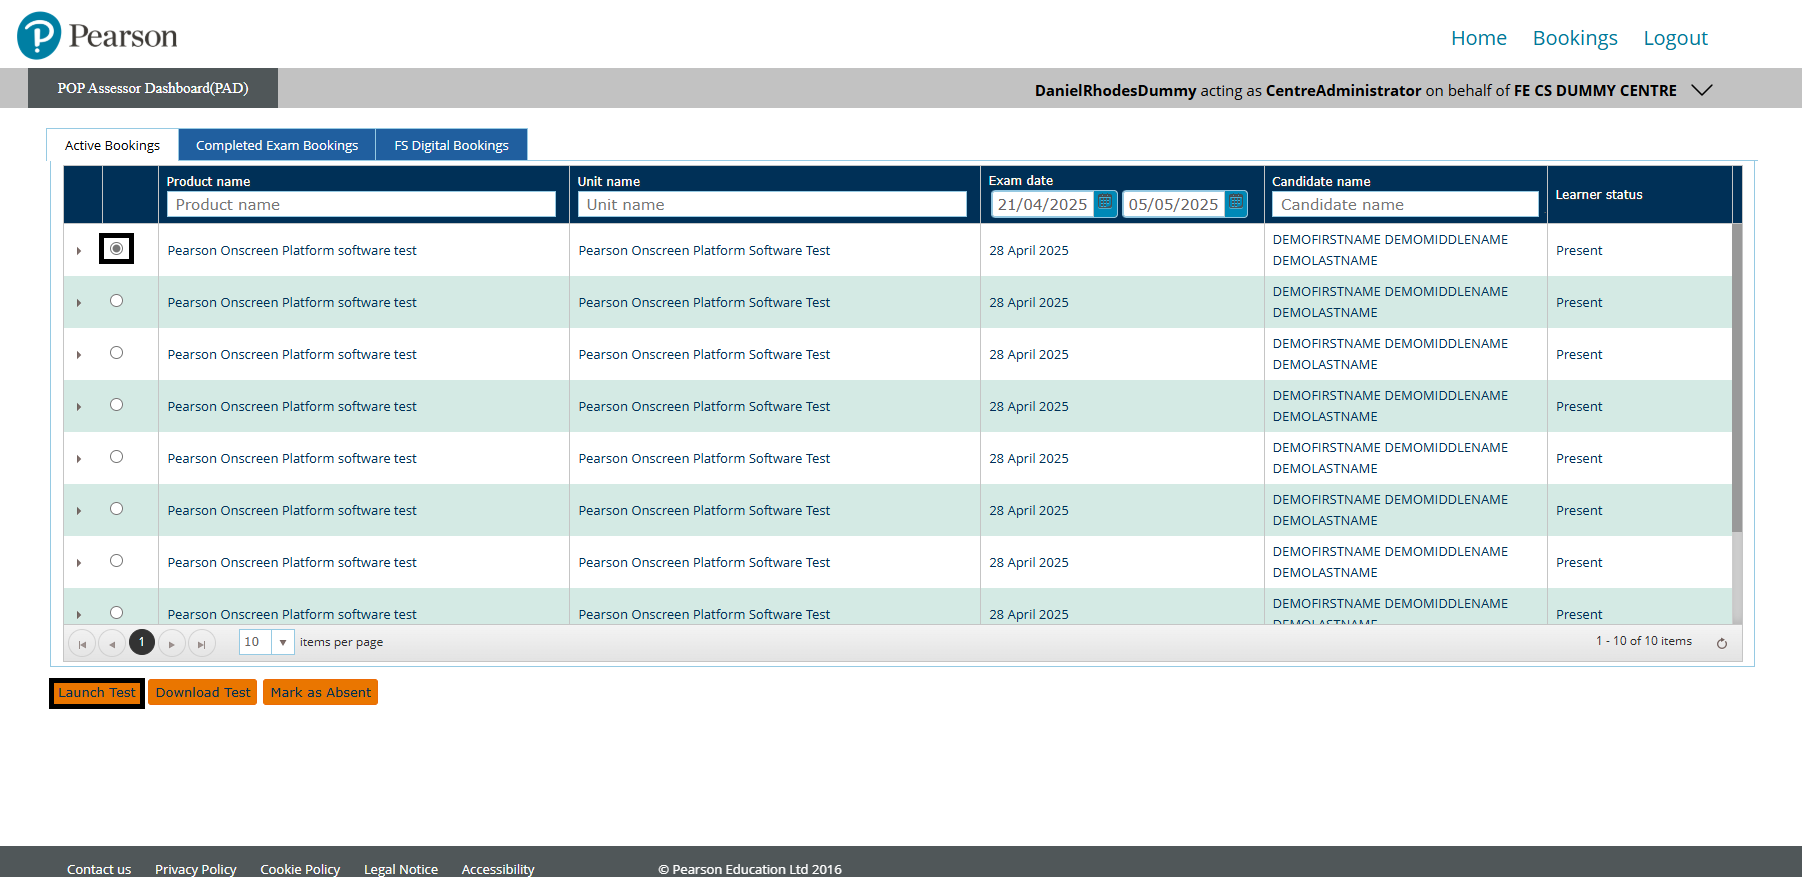
The Bookings page is where you manage your tests. Clicking on the Active Bookings tab will display your available tests in a list:
|
Switch Sub-site/Centre
If your user account has access to multiple sub-sites, you can select between these by clicking the top-right dropdown arrow, followed by Switch Centre:

|
Filtering Your Search
You can filter your search by 'Product name', 'Unit name', 'Exam date' and 'Candidate name' to show the relevant test booking you need access to:

|
Additional Booking Information
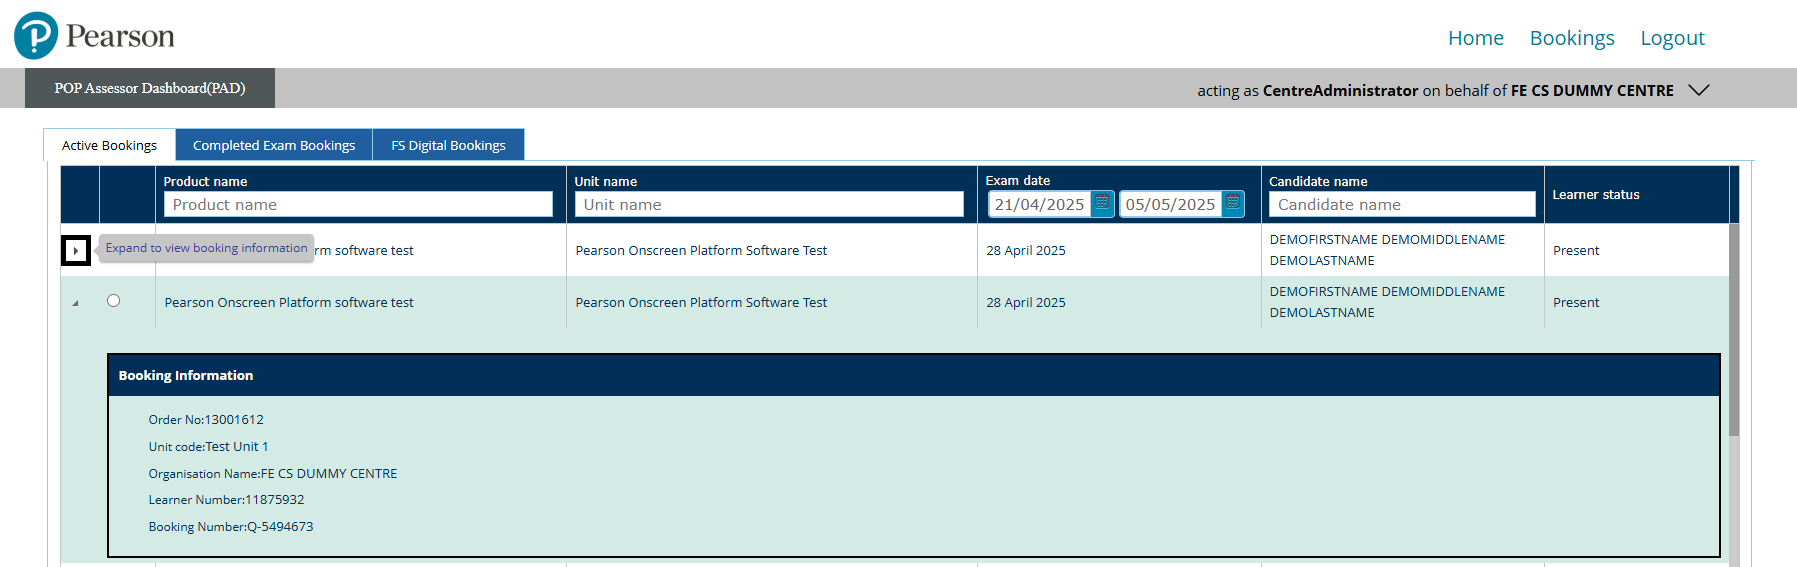
To access the additional 'Booking information', you can expand the test window by clicking the 'small dropdown arrow', found towards the left-hand side of the booking:
|
Mark a learner absent
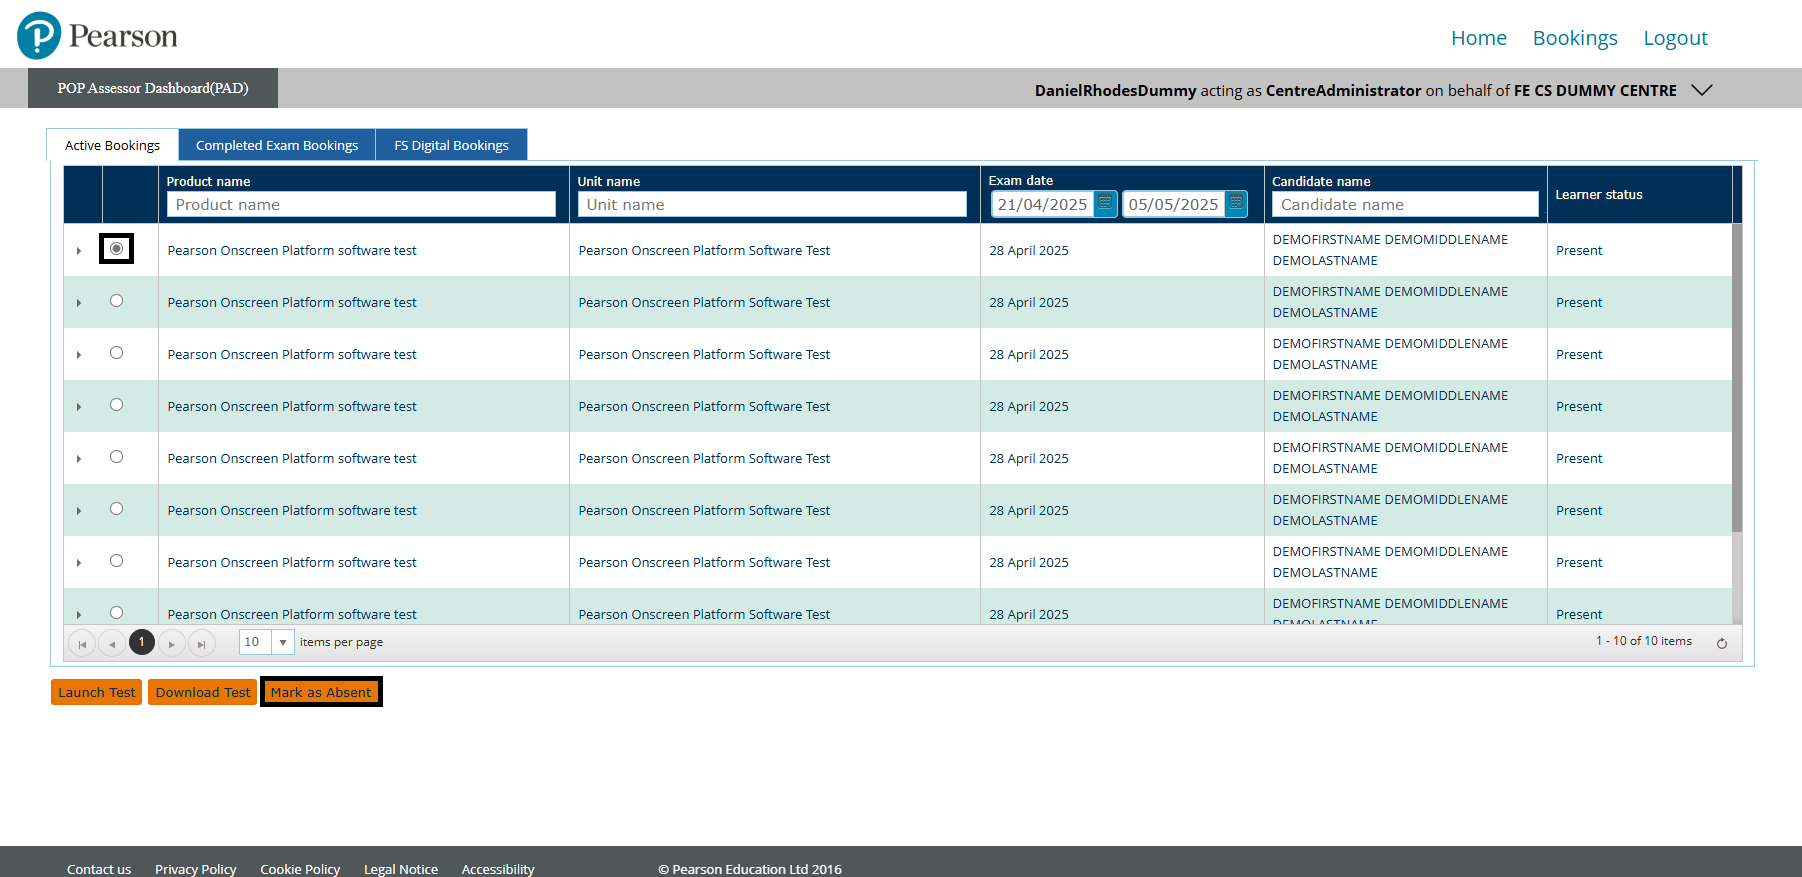
If you wish to mark a learner as absent:
- Click the relevant 'radio button' for the booking and then click the 'Mark as Absent' button:
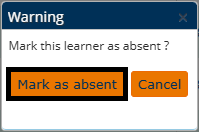
- Click 'Mark as absent' to confirm this action:
|
Launch test (online)
If you wish to run a test online, select the relevant test with the radio button and click Launch Test. This will launch the test directly from your web browser:
Please note:
If this is your first time launching a test, you may be presented with this window. Click Open WinTDP to proceed:
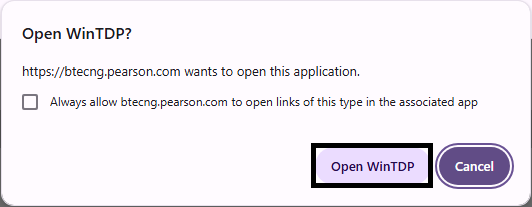
Placing a tick in the checkbox will stop this window from appearing again.
|
Download test (offline)
If you wish to run a test via the Pearson Offline Dashboard:
- Select the relevant test with the radio button and click Download Test:

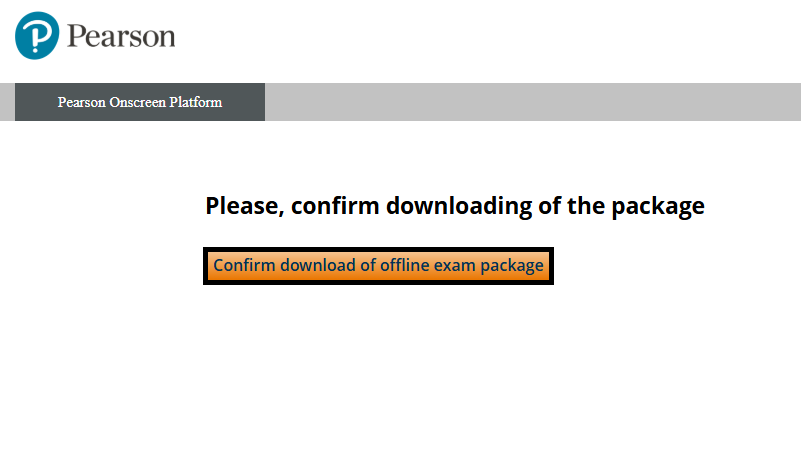
- A new tab will open where you will need to confirm the download by pressing the Confirm download of offline exam package button:
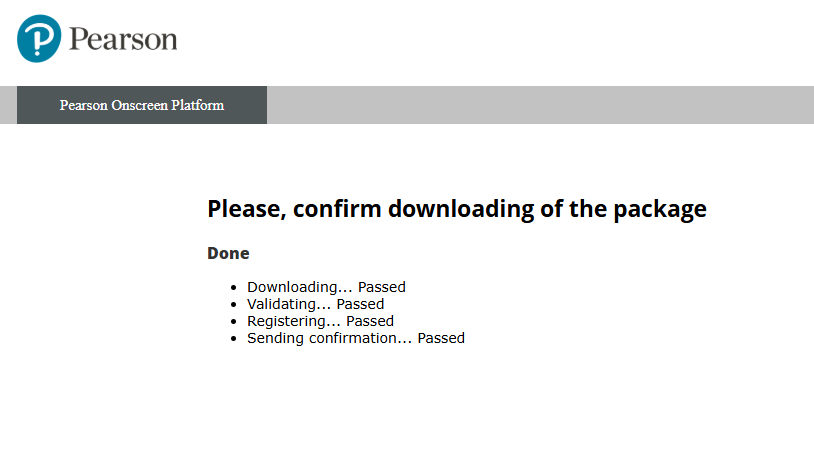
 - Confirming the download will open a new tab where you log into the Offline Dashboard. The previous tab will show the status of the download in four stages. A "Passed" status on each of the four stages confirms completion of the download process:
Please note:
If you launch a test directly from PAD, the response file will be uploaded automatically upon completion of the test.
|
|
|
Offline Dashboard
Managing tests in the Offline Dashboard
|
Please select a process to expand and view:
View Active Bookings
Please follow the steps below:
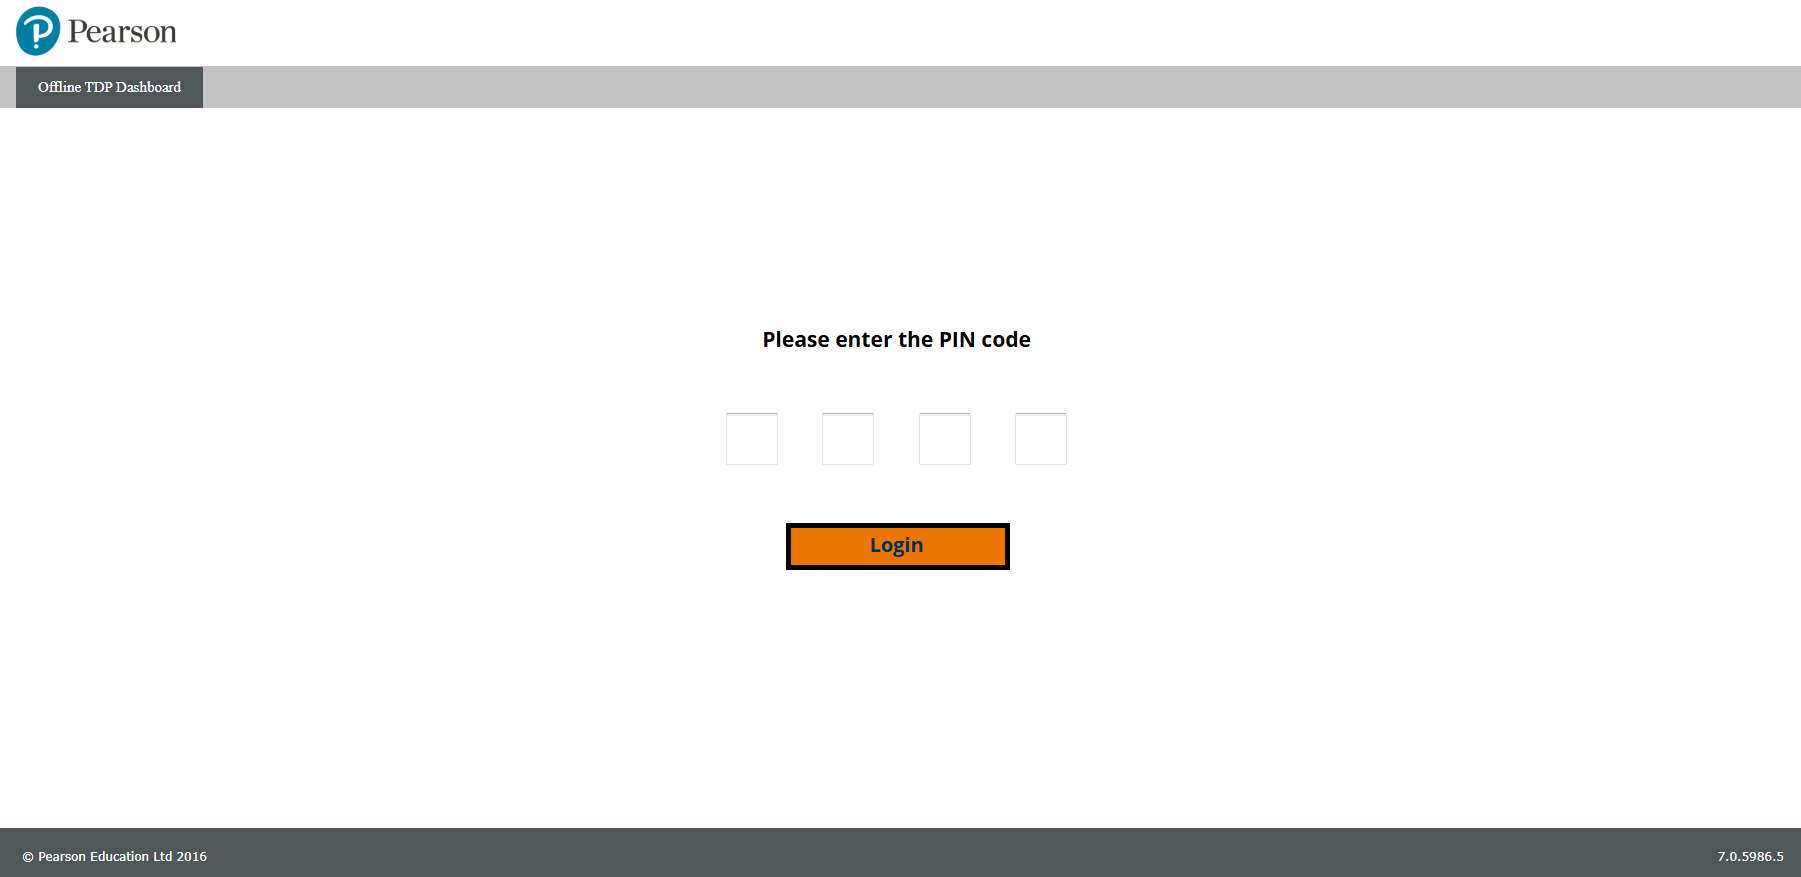
- To log in, enter your PIN and click the Login button:
- This will open the Offline Dashboard, where you can see your available tests. If the dashboard opens up in another screen, clicking Available will take you to the correct screen:
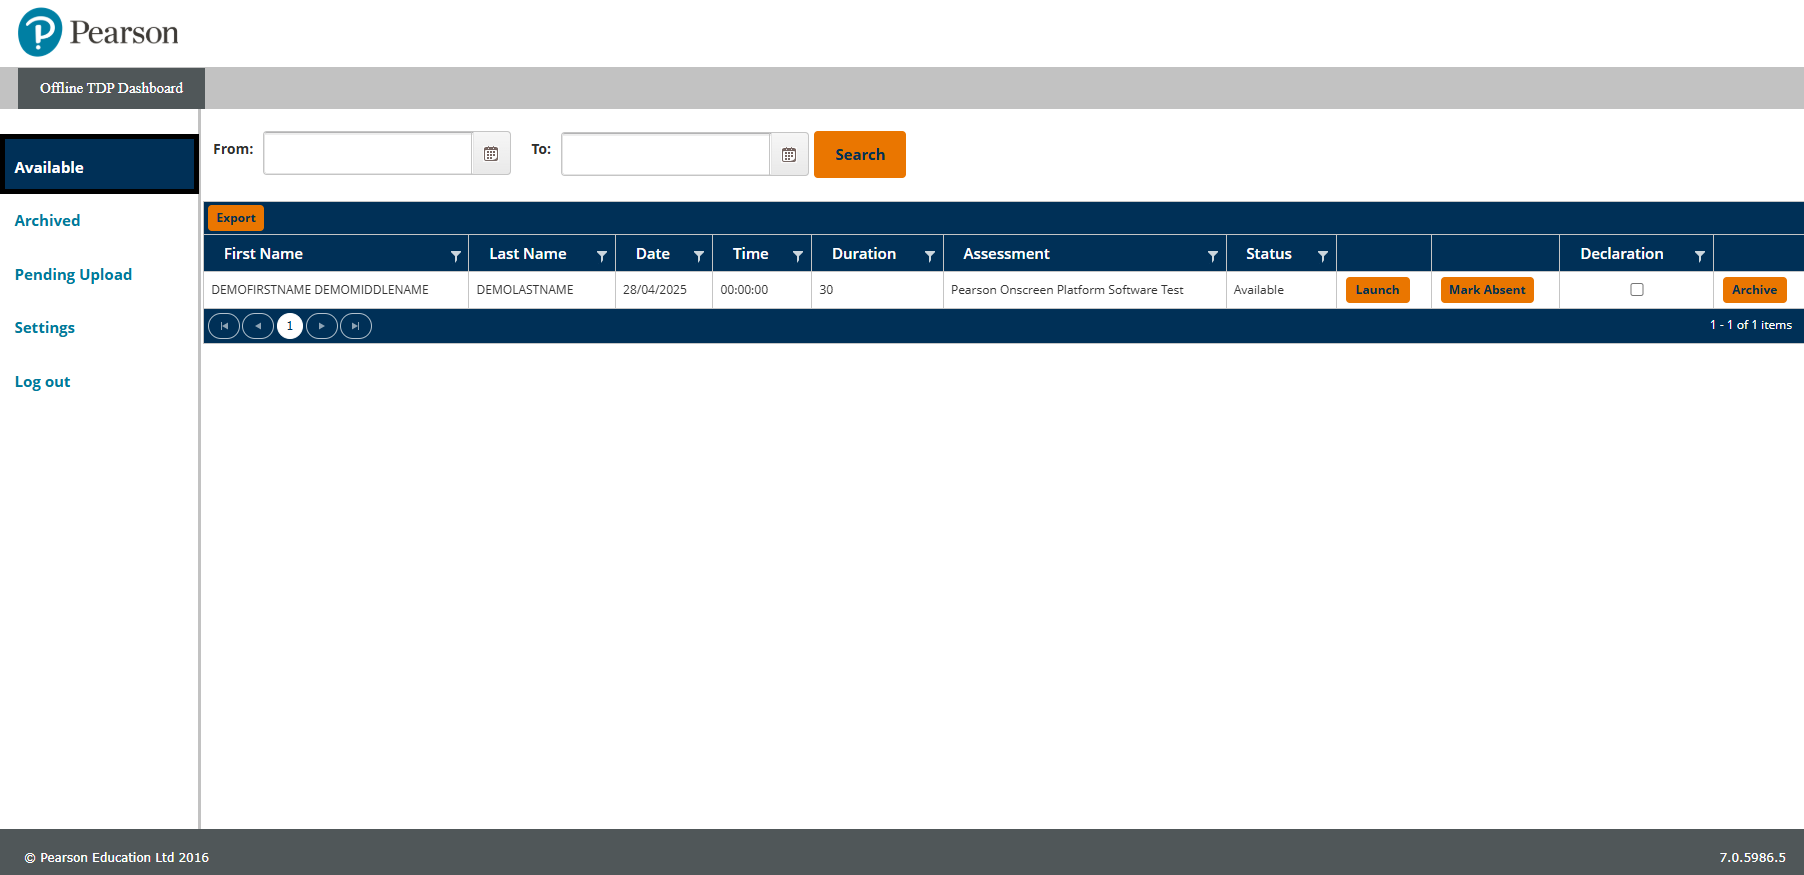
- Find the learner's test you wish to launch. You can search by date range if you have several learners across multiple dates:

|
Launching A Test
Please follow the steps below:
- Tick the Declaration checkbox to confirm you are ready to invigilate the assessment, then click the 'Launch' button:

- If this is your first time launching a test, you will be presented with this window. Click 'Open WinTDP' to proceed:
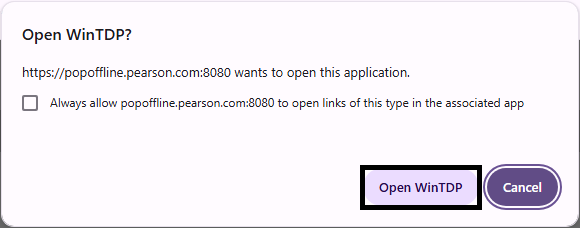
Placing a tick in the checkbox will stop this window from appearing again.
|
Mark a learner absent
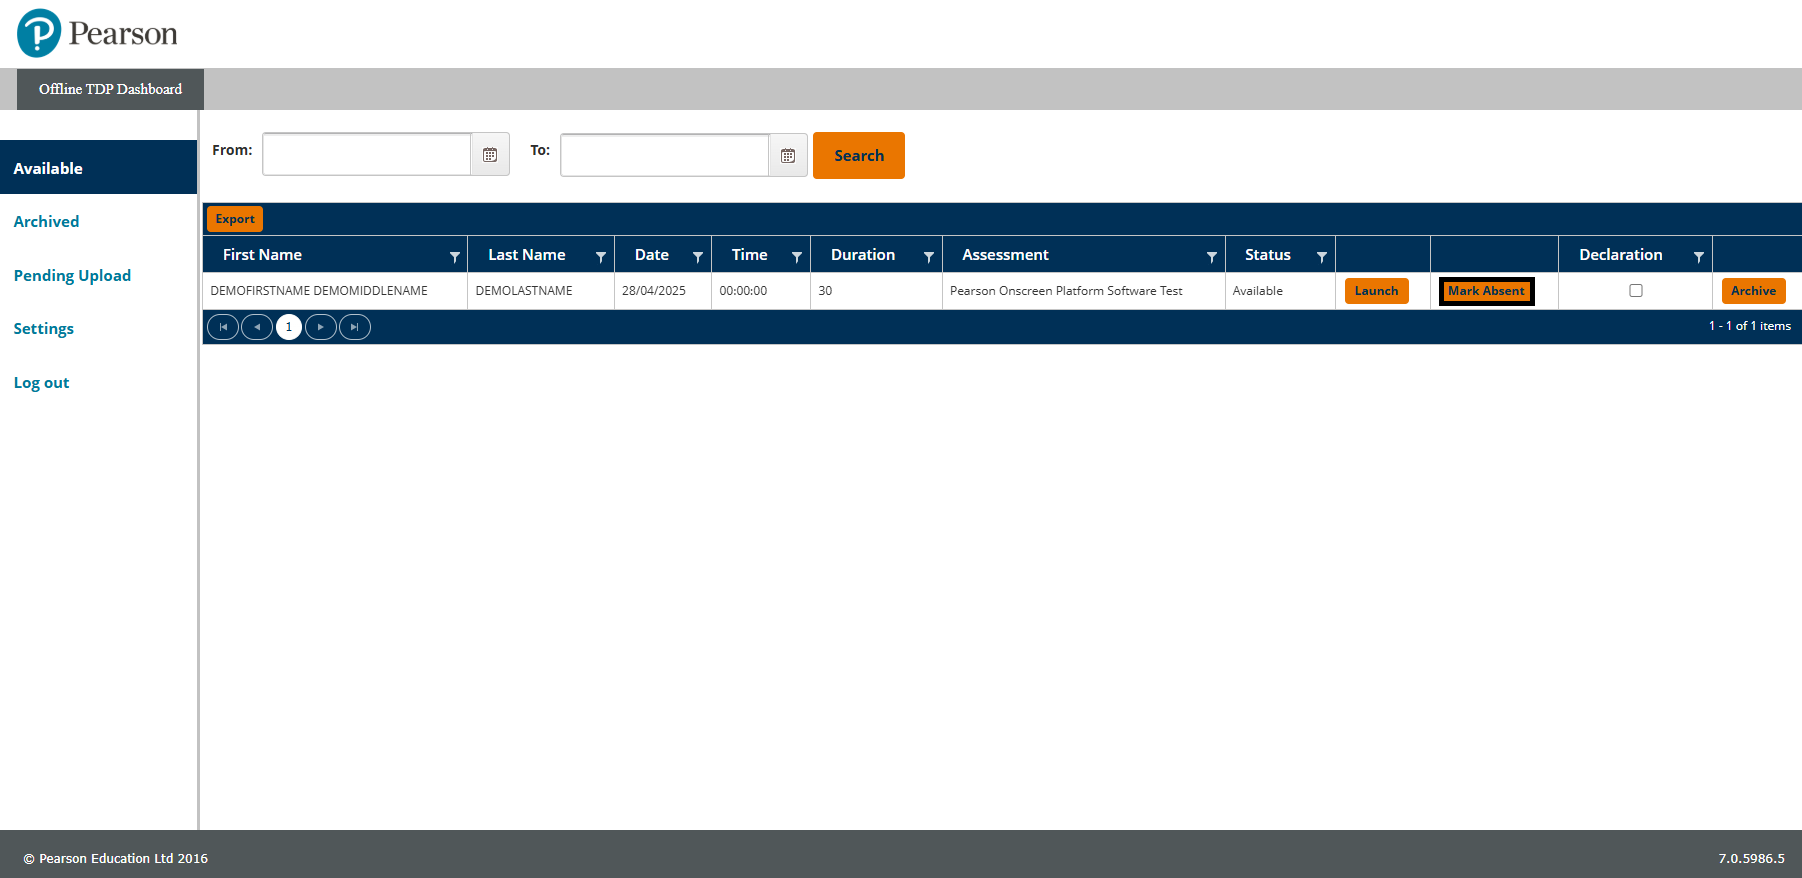
If the learner is absent, you can mark this by clicking the Mark Absent button:
The absence mark needs to be uploaded in the same way as learner test responses. Guidance on how to do this can be found below.
|
Uploading responses
Please follow the steps below:
- Once the test has finished, you will need to log back into the Offline Dashboard. Upon next login, you will be presented with a Pending actions pop-up box:
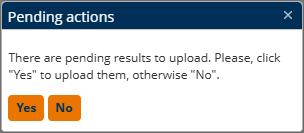
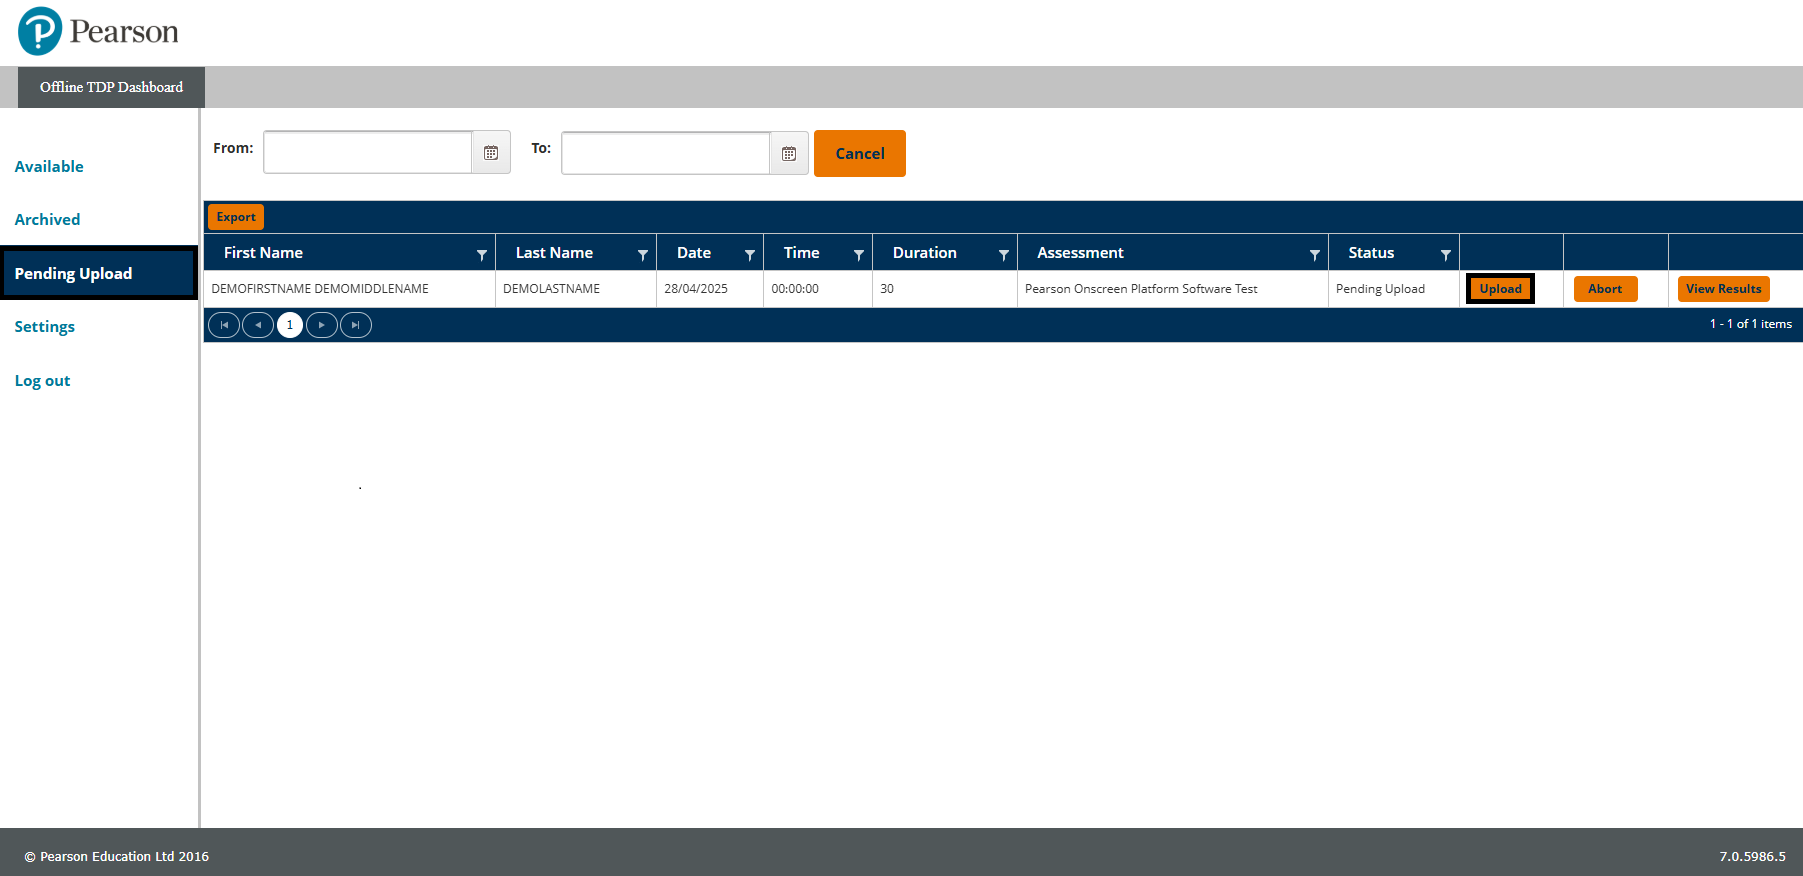
- If you have an internet connection, click Yes. If you wish to upload later, click No. If you selected No, you will need to do a manual upload by selecting Pending Upload and then clicking the Upload button:
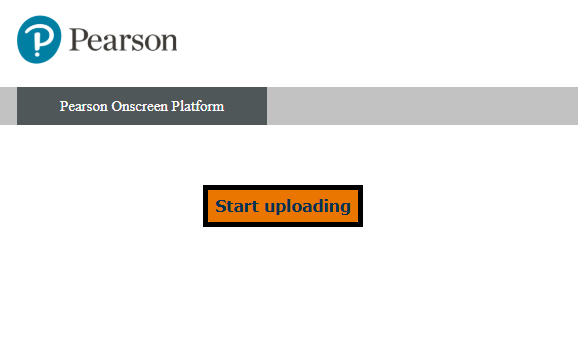
- A pop-up window will then appear, asking you to start the upload by clicking on the Start uploading button:
|
|
|
Additional Guidance
Toolbar guidance
|
Notepad

|
- The size and colour of the font for your notes can be adjusted using the controls provided.
- Notes you make will be kept for the duration of the test. If you leave a question and return to it later, your notes will still be there.
- You will need to open Notepad again via the toolbar to see them. However, they will always be available to you during the test.
- Notes you make are specific to the question on which they are made, so can only be seen when on that question.
- Notes will not be marked and will be discarded at the end of the test.
| |
Calculator

|
- The calculator icon will only appear if it is allowed for that question.
- You can copy your calculations directly into the working box when the question requires it, with a button on the calculator called "Copy to Working Box".
- The calculator is keyboard accessible and can be operated using the tab or arrow keys to move to numbers or symbols and the spacebar to select.
| |
Ruler

|
- The ruler icon will only appear if it is allowed for that question.
- You can drag and drop the ruler around the screen using the mouse.
- You can adjust the angle of the protractor by using the degree rotation buttons located above the toolbar icon.
| |
Protractor

|
- The protractor icon will only appear if it is allowed for that question.
- You can drag and drop the protractor around the screen using the mouse.
- You can adjust the angle of the protractor by using the degree rotation buttons located above the toolbar icon.
|
|
|
Accessibility options
|
Accessibility panel

| Accessed by clicking the icon on the toolbar | |
Colour filters
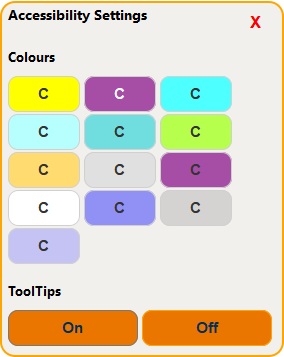
|
- Located within the "Accessibility Settings" panel.
- These are intended to mimic the action of coloured overlays used by some dyslexia sufferers, who find them useful when interacting with text-based materials.
- However, some of the videos and animations used within our tests are difficult to see clearly when using the filters.
- On questions where there is a video or animation, candidates are advised to temporarily turn off the filter they are using whilst viewing the video or animation and re-activate the filter once they have viewed it.
| | ToolTips |
- Also located within the "Accessibility Settings" panel.
- When "On" is selected, this will provide additional information when hovering over certain components within the testing screen.
- Selecting "Off" will remove this.
| | Zoom & move options |
- You can adjust the screen zoom level by using Ctrl & + (plus) and Ctrl & - (minus) to move in and out, respectively.
- If the zoom level moves part of the question off-screen, you can use the arrow keys to move the screen around.
- Using Ctrl & 0 (zero) will revert the screen back to the default zoom level.
|
|
|
Section-based tests
|
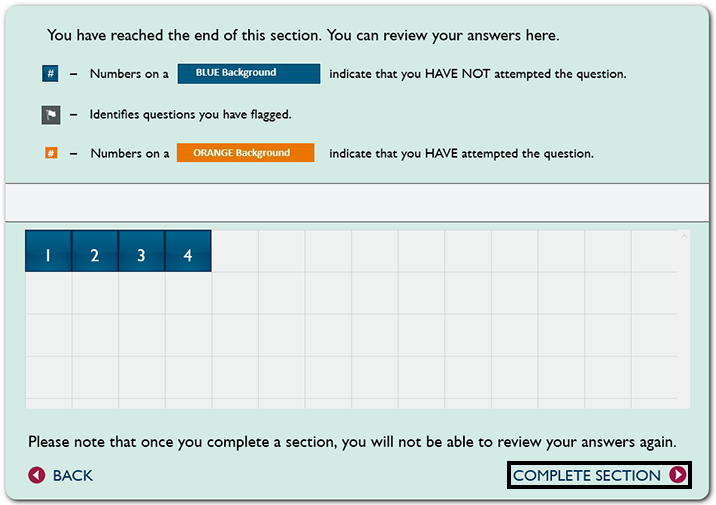
For section-based tests, once the learner gets to the end of a section, they will have a chance to review their answers for that section:
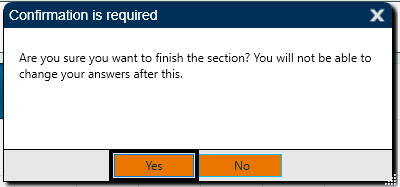
Important: After moving on to the next section, there is no way to go back to the previous section:
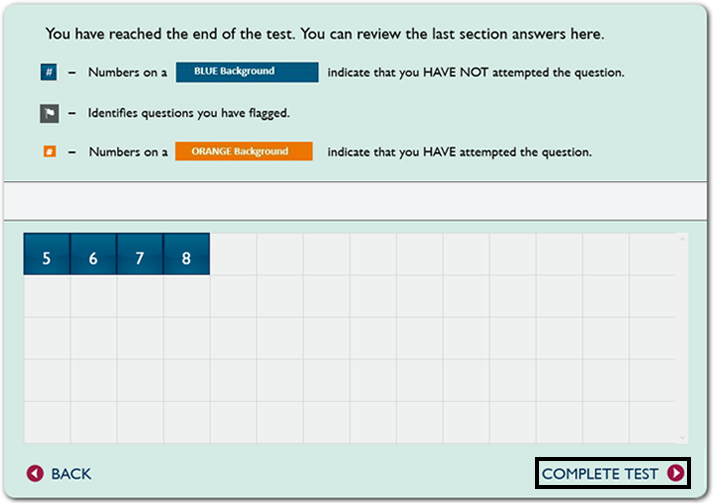
There is a chance to review the learner's answers at the end of the test. If it is a section-based test, the learner can review the answers from that section:
|
|
Return to the support index. |
|
|---|