Please select from the options below to view step-by-step instructions:
Internal verification requirements
Your BTEC assessment internal verification forms should be uploaded to support the external quality assurance process. This is a requirement before you can issue grades to your learners.
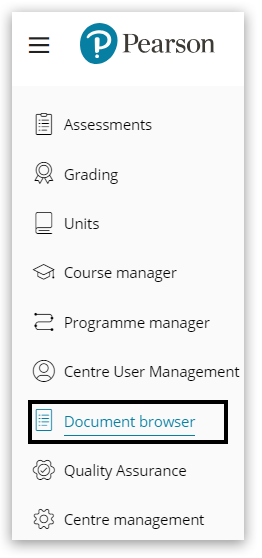
1. Locate the necessary internal verification documents by logging into Pearson Progress and click 'Document browser':
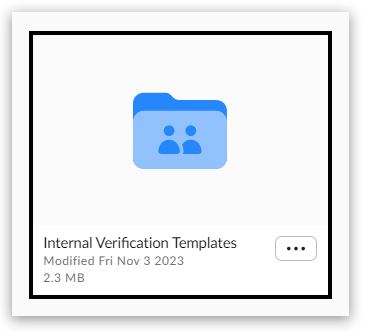
2. Click on 'Internal Verification Templates':
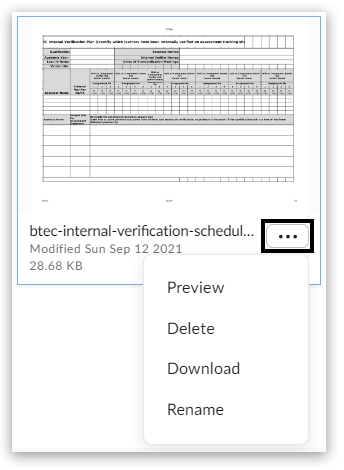
3. Click on the three dots icon to preview (view online) or download to complete:
4. Complete the internal verification documents necessary for your assessment and save them to your device:
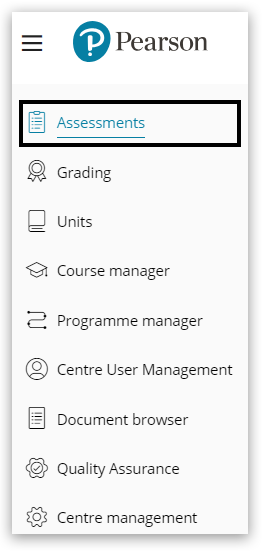
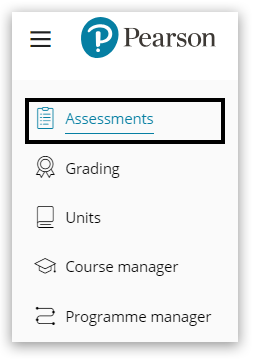
5. Once completed, you need to upload them to the assessment before you issue any grades to learners. From the homepage, click on 'Assessments':
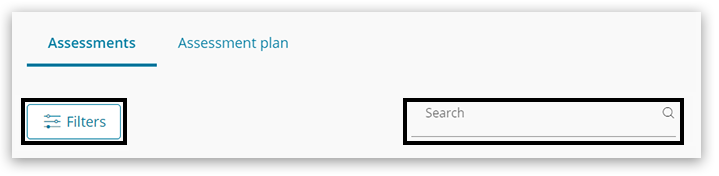
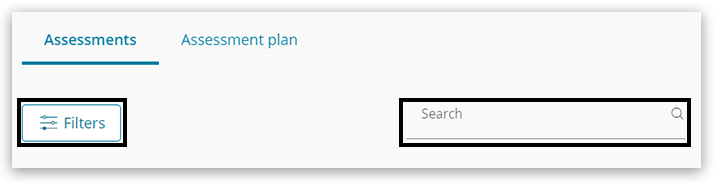
6. Locate the assessment you wish to upload your internal verifications documents to. You can use the filter option or search tool to find your assessment:
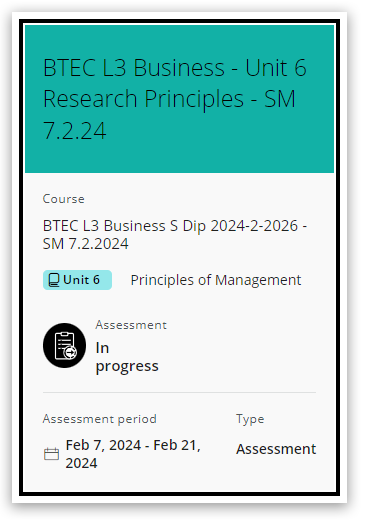
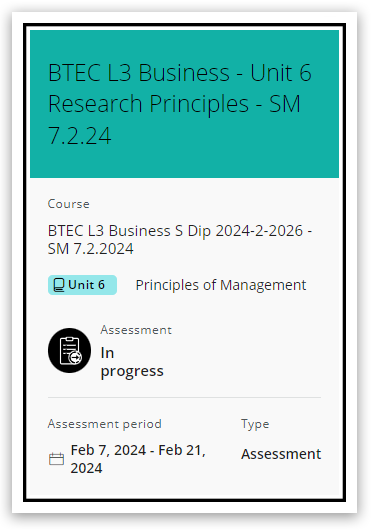
7. Click on the 'assessment tile' to open the assessment:
8. Click on 'Internal Verification':

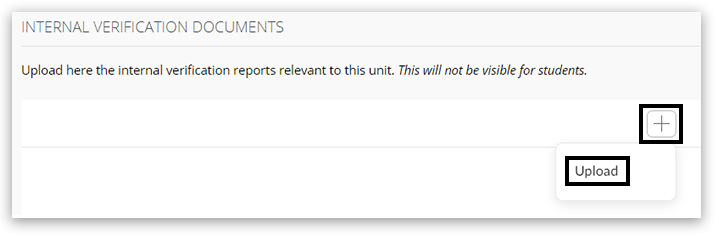
9. Click on the '+' icon, then 'Upload':
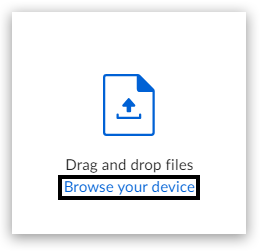
10. Drag and drop files or use the 'Browse your device' option to search your device:
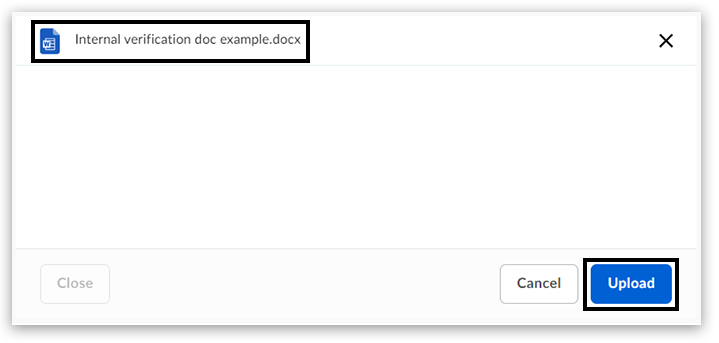
11. You will see your chosen document appear, click 'Upload':
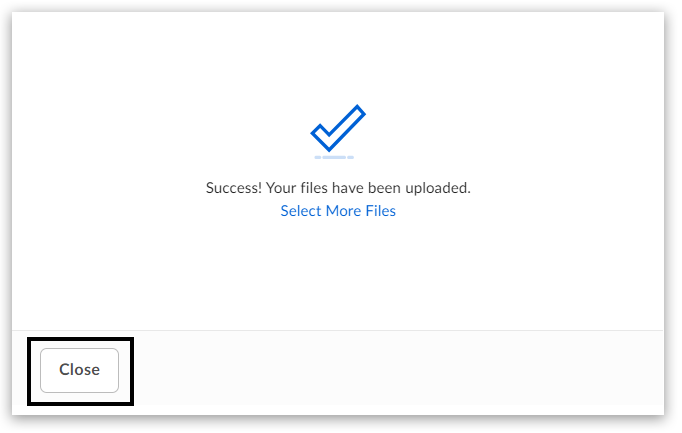
12. You will receive a confirmation screen, click 'Close':
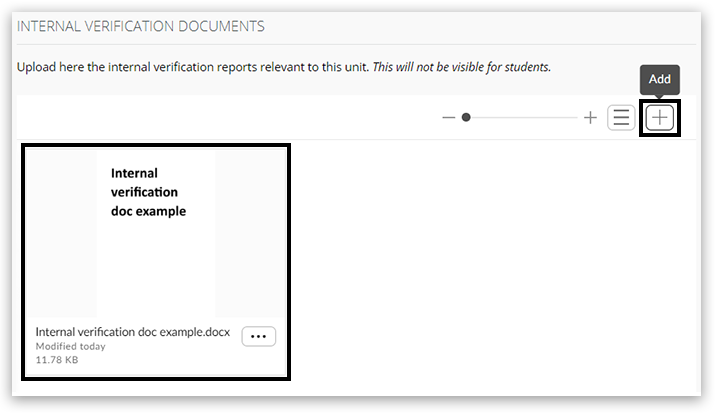
13. You will see your uploaded document(s). You can continue to add additional documents by clicking the '+' icon and repeating this process:
Please note: These documents are now visible to centre staff and Standards Verifiers (not learners).
Issuing unit grades
Important: Grades must only be issued once the above internal verification process has been completed.
1. Log into Pearson Progress and click on 'Assessments':
2. Locate the assessment you wish to issue grades for. You can use the filter option or search tool:
3. Once located, click on the 'assessment tile' to open:
4. Click on 'Learners & Evidence':

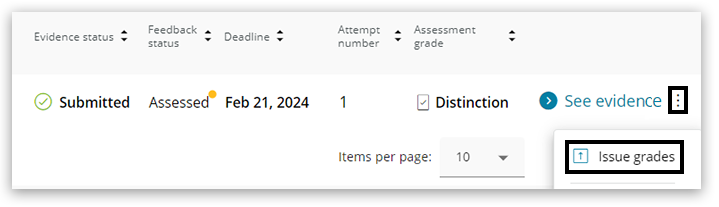
5. Click on the three dots icon on the right hand side of the learner you wish to issue grades to, then click 'Issue grades':
6. A box will appear asking you to declare the internal verification processes have been met, click to tick the declaration box, then 'Issue grades':

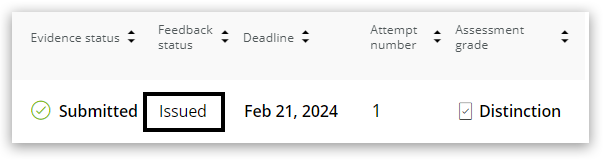
7. The feedback status will have now changed to 'issued' and the learner will be informed of their grade:
Issuing qualification grades
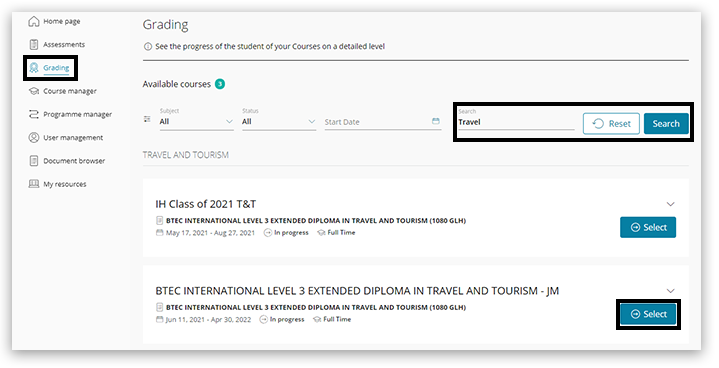
1. From the homepage menu, click 'Grading'. Locate the course you would like to issue qualification grades within and click the 'Select' button:
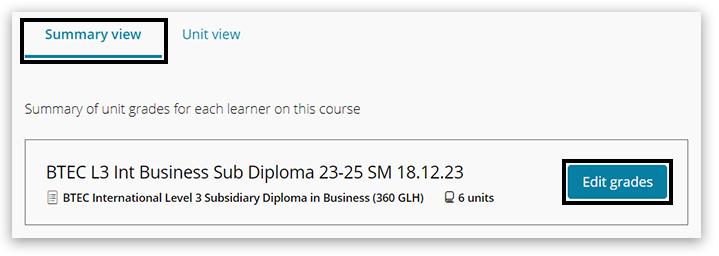
2. Click 'Summary View', then 'Edit grades':
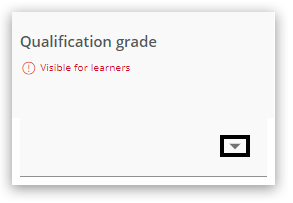
3. In the 'Qualification grade' column, click the down arrow to choose your grade:
4. Once all the qualification grades have been input, click 'Save' or 'Discard changes' to cancel:

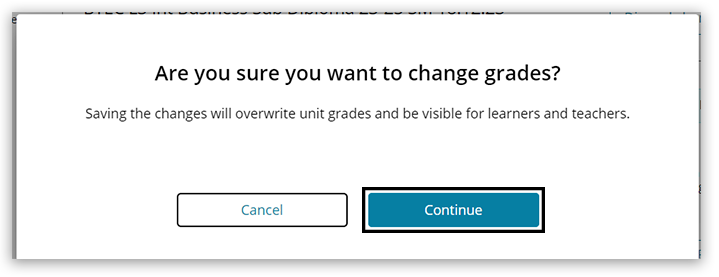
5. You will receive a message screen asking you to confirm the grades you have input, click 'Continue':
6. The qualification grade will now show and the learner will be informed:
Back to Pearson Progress: Information And Support index page.