
Overview
The Pearson Offline Platform is the onscreen testing software installed by approved centres to facilitate learners taking onscreen tests.
The software must be installed on each computer where tests take place. It is typically installed on laptops where testing may be taking place away from the centre.
The Offline Dashboard is the website that users access to deliver tests that have been downloaded to the computer's hard drive.
Please click below to expand each section and view support:
Technical requirements
|
Minimum system requirements:
- Windows 7 SP1 (or greater)
- Dual-core processor
- 10GB of hard disk space
- 512MB of RAM
- Network adapter installed
- Video card installed
- Screen resolution of 1024 x 768 (or greater)
Prerequisites:
- Full administration rights during installation
- Microsoft .NET Framework 4.5 (or greater)
- IIS 8.0 Express (or greater)
- Port 8080 is open & available
- Windows Media Player 11 (or greater)
- Access to the Pearson Assessor Dashboard website (URL https://btecng.pearson.com/PQS.Web.CCPD/)
|
|
Installation
|
1. Download the Pearson Offline Platform installer (found below):
- link to msi installer
- link to exe installer zip folder (includes IIS 8.0 Express installation, please ensure you extract files from zip before installation)
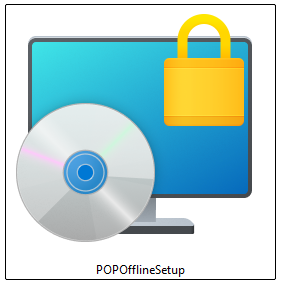
2. Click on the POPOfflineSetup file to begin running through the Setup Wizard:
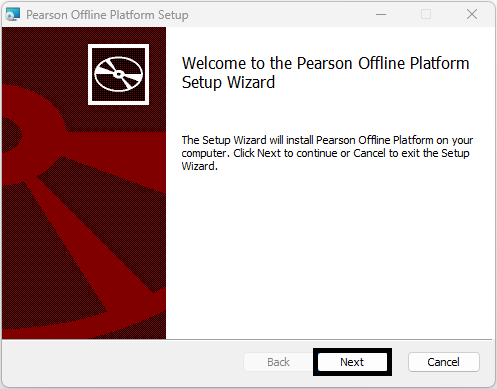
3. Click Next to start the Setup Wizard and follow the instructions:
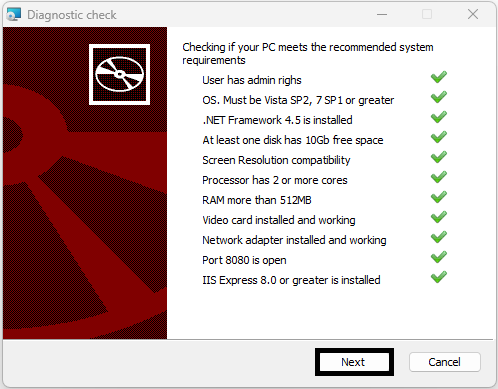
4. As part of the process, the Setup Wizard will run a diagnostics check to ensure you have the recommended system requirements:
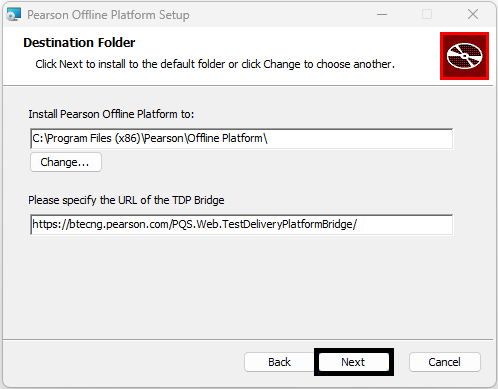
5. You will then be asked to confirm the location where the Offline Dashboard will be saved on your computer. You will also be asked to specify the URL of the TDP Bridge, please leave the pre-populated URL unchanged:
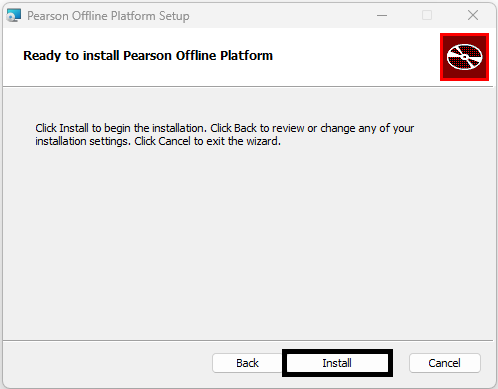
6. The Setup Wizard will then ask you to click Install to begin installation:
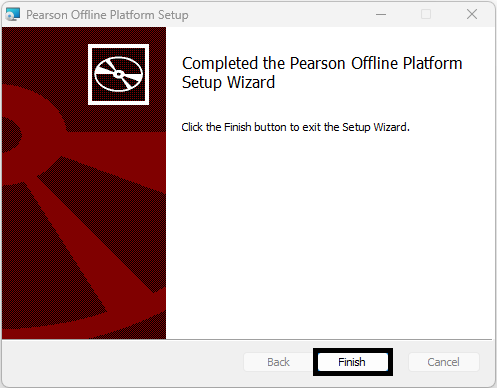
7. Once setup and installation are complete, click Finish to close the Setup Wizard:
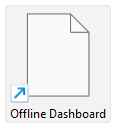
You have now installed the Pearson Offline Platform on your computer. A shortcut icon to the Offline Dashboard website will appear on your desktop:
| |
|
|
Adding trusted sites
|
1. To ensure the Pearson Onscreen Platform can communicate with Pearson, you will need to add the following URLs as trusted sites:
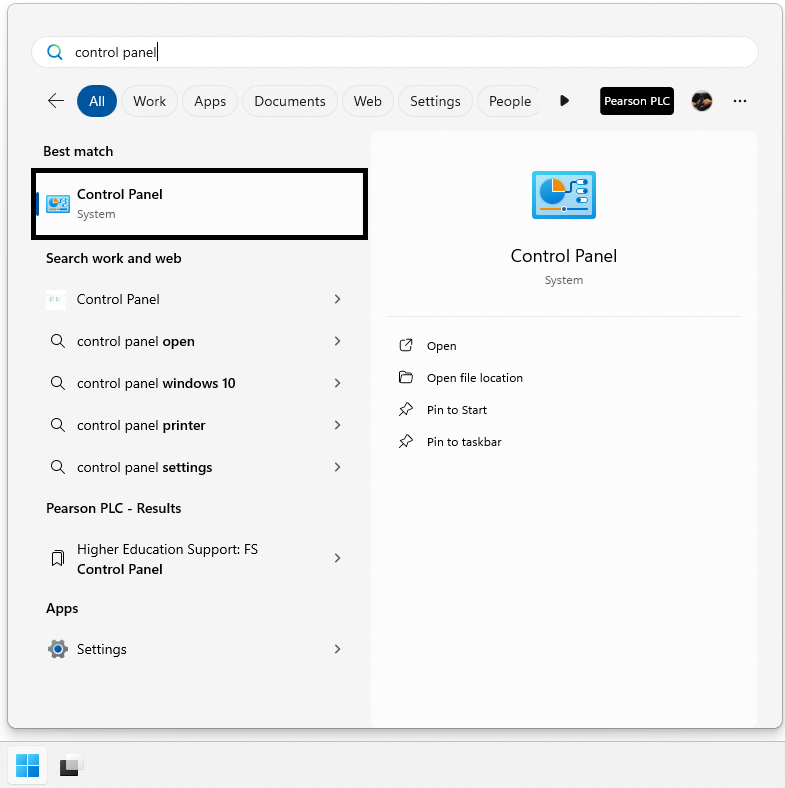
2. Open the Windows Start menu, search for Control Panel and click the System app that appears:
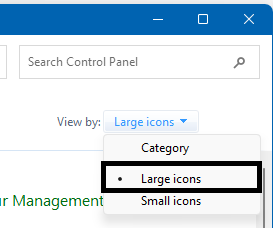
3. Towards the top-right of the Control Panel window, you will have the option to select the View. Change the option to Large icons:
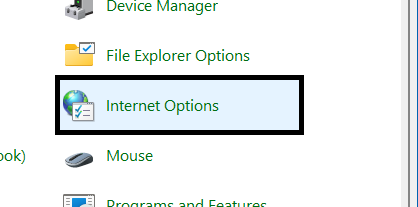
4. Select Internet Options:
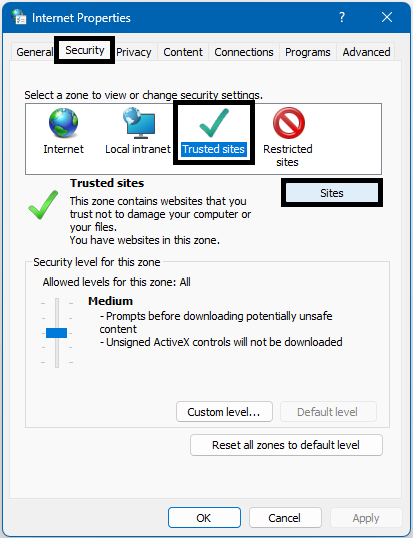
5. Select the Security tab, select Trusted Sites from the options that appear and then click the Sites button:
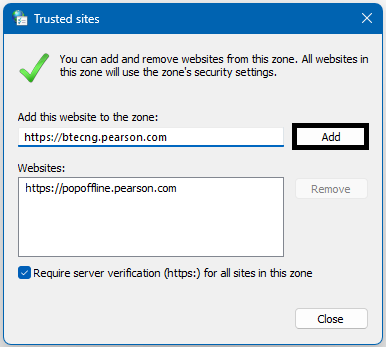
6. Add the above URLs to the list of trusted sites by typing the address into the Add this website to the zone field and clicking the Add button. Once the URLs have been added, click Close to exit:
Please note: Depending on your centre network and firewall settings, your IT team may also need to add the URLs elsewhere.
|
|
Return to the support index.