| FAQ | 
The below step-by-step instructions show how centre users manage a moderation sample request in the LWT Examination/Moderation platform.
Learner material should only be uploaded to the learner in question. If any learners are missing, an entry must be made, allowing evidence to be uploaded appropriately. Learner entries can be checked on Edexcel Online.
Please note: If the entries have just been made, the learner details will take a few hours to show within the request. However, if entries have been made past the deadline for being added to a request, the affected learners details will not appear within the request, and you should contact Customer Support.
Click on each of the options below to expand and see support:
Managing Requests - LWT Moderation
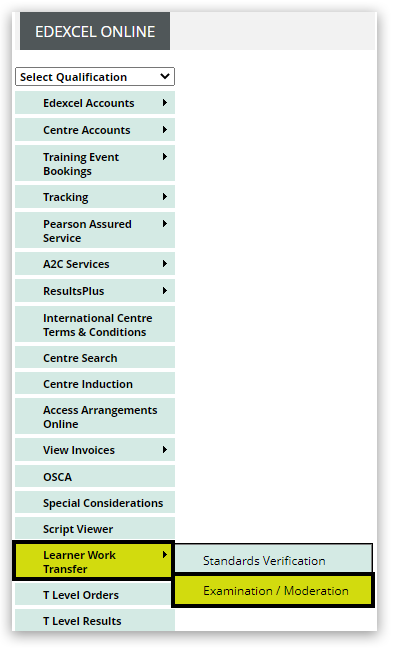
1. Log in to Edexcel Online. Hover your mouse over 'Learner Work Transfer' and then click on 'Examination/Moderation' from the menu on the left side of the page:
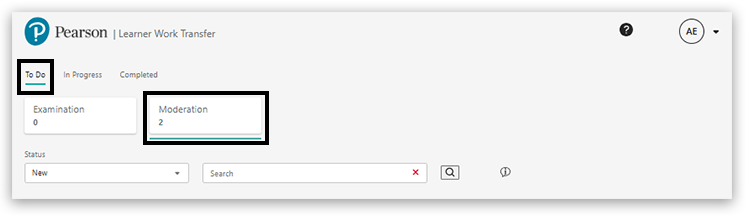
2. Click on the 'To Do' option, then select the 'Moderation' tab (near the top of the page) to see Moderated sample requests:
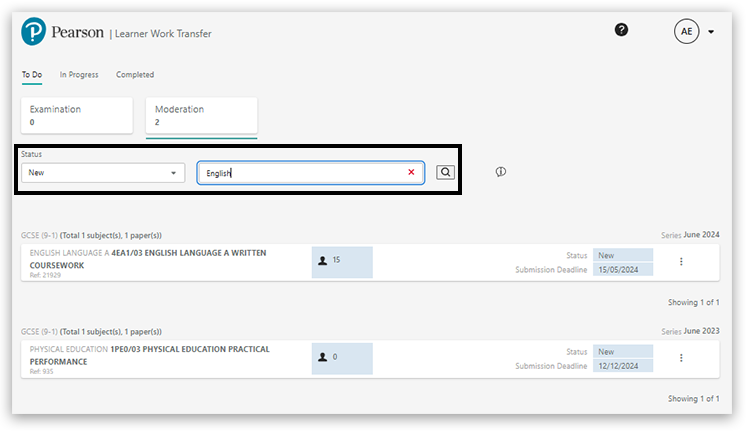
3. This is the Learner Work Transfer Moderation dashboard. Using the search box, you can narrow down the requests as required. The search will work across all the data shown in the list of requests:
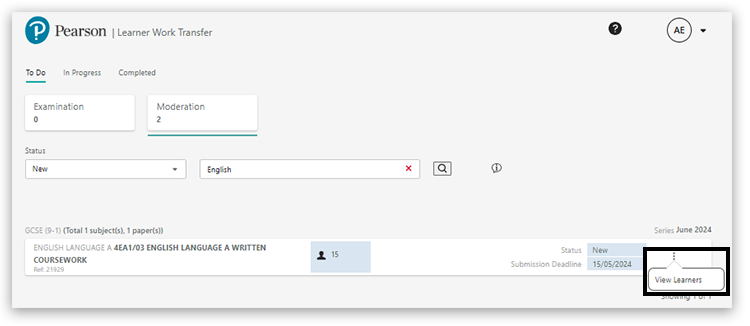
4. Click on the 3 vertical dots located on the right of the request, then select 'View Learners' to open the request:
There are two types of moderation requests:
- sample selected by the centre
- sample set by Pearson
If the sample is to be selected by the centre, then no learners will be initially shown when you enter this screen. You will need to utilise the 'Manage Learners' functionality to add the required learners to the sample; see the 'Adding Learners' section:

If the sample is set by Pearson, you will be presented with a list of all learners selected to be part of the sample (indicated with a 'P' before the learner ID):
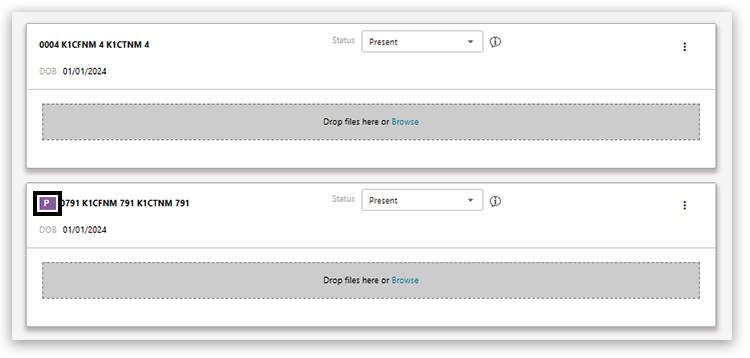
Moderation requests must include evidence for the highest and lowest marked learners. Please refer to the subject-specific guidance about how to identify these learners.
If these learners are not displayed on the request or if the sample is selected by the centre, you must use the 'Manage Learners' functionality to include the learner(s); see the Adding Learners section of this article.
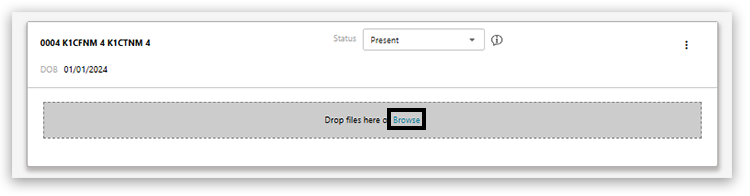
5. To upload learner evidence for assessment, there are a couple of options to choose from. First, you can click on ‘Browse’ under a learner.
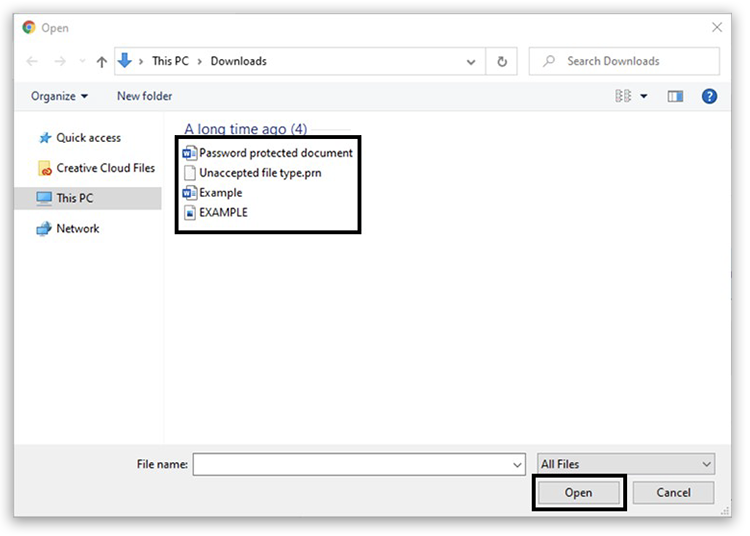
6. This will open the file explorer on the machine. You can select an individual file by clicking on it, or you can select multiple files for a given learner by pressing the 'Ctrl' key on your keyboard to select multiple files for a given learner, then clicking 'Open':

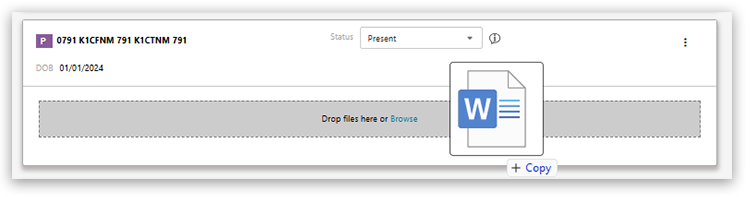
7. Alternatively, you can drag and drop files from your machine directly into the grey area of the page below the given learner:
8. Files uploaded will display the 'Uploaded' state:

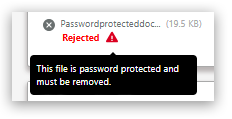
During the 'Upload' state, the files are virus-checked. The system also checks that the files are not password protected and are in an accepted file format (please see: Learner Work Transfer (LWT): Supported File Formats for additional guidance).
You do not need to wait until these checks are completed to submit the request. However, if you need to exit the request at this point, these checks will continue in the background.
If you choose to submit the request before the file checks are complete, you should check back the following day to confirm whether the request has been successfully submitted or not.
If an issue were identified after the checks were completed, the request would show as 'Not Submitted' on the 'In Progress' tab of the 'Moderation' dashboard.
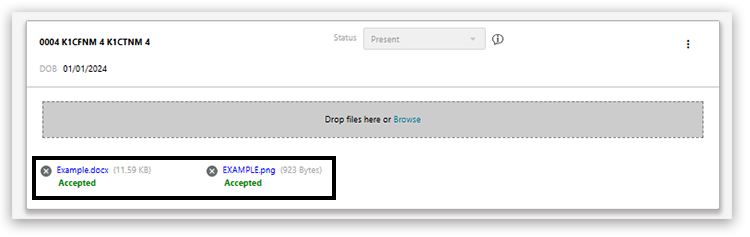
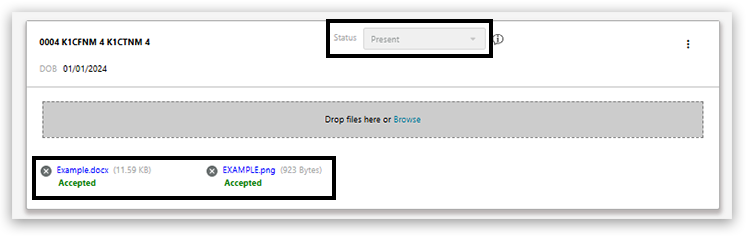
9. If the checks are successful, the status will show as 'Accepted':
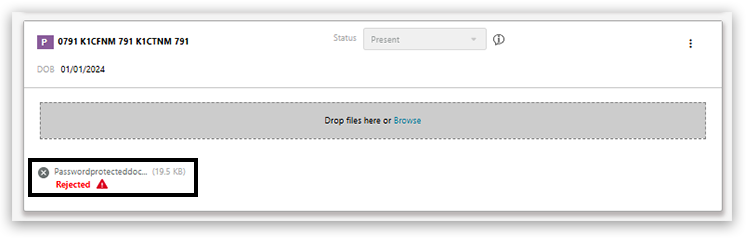
10. If the checks are unsuccessful, the status will show as 'Rejected'; you can hover over the warning icon to display the reason for rejection:
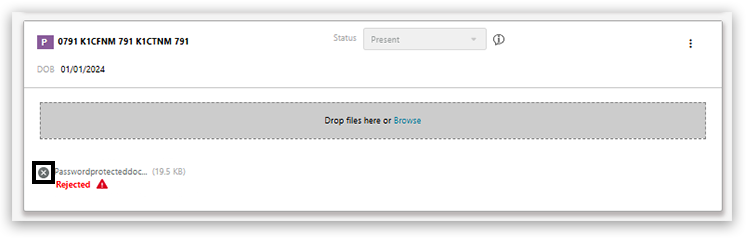
11. Click on the 'X' next to the filename to remove the rejected file:
You can continue uploading files to individual learners using the Browse or drag and drop options.
Please note: If you have incorrectly added a file to a learner, you can click on the 'X' next to the filename to remove the file.
Back to top
|
Adding learners
If the highest and/or the lowest marked learners are not included in the request, you must use the 'Manage Learners' functionality to add learner(s) to the request and make them part of the sample to be moderated. This process is also used to replace a learner who was selected but was unable to complete the work or was marked absent for the assessment. In these cases, a learner with the same or similar mark should be used as a replacement:

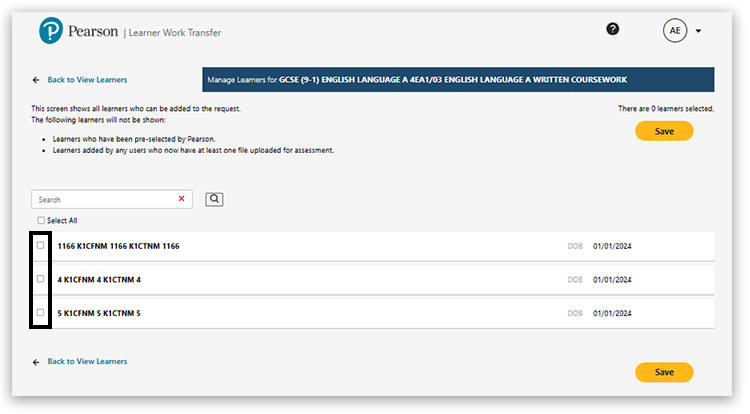
1. In the 'Manage Learners' screen, you will see a list of all learners with entries for the component. If there are any changes to entries, e.g. late entries, these will appear within this screen.
2. Use the check boxes on the left to select all learners or select specific learners:
3. When all relevant learners have been selected, click on the 'Save' button located at the top or bottom of the page:
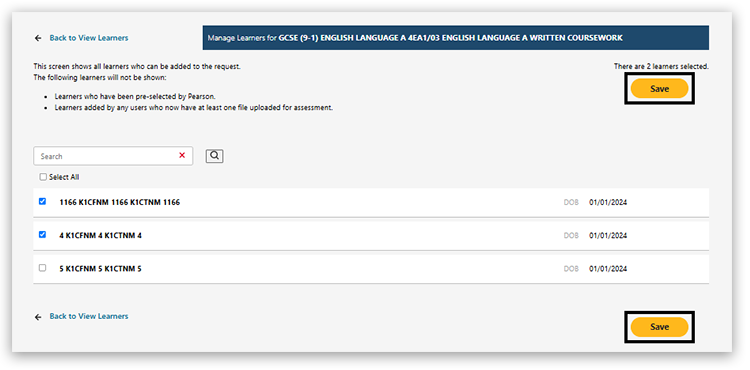
A confirmation message will be displayed at the top of the page:

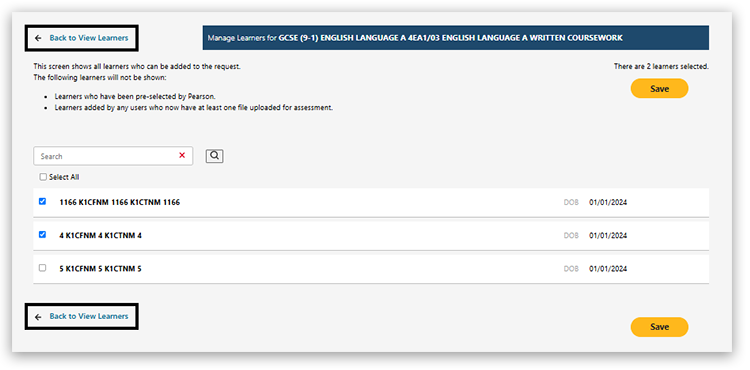
4. To return to the request, click on 'Back to View Learners' at the top or bottom of the page.
Any learners added via the Manage learner functionality will then show within the 'View Learner' screen (without the 'P' indicated before the learner ID).
If you need to remove these learners from the 'View Learner' screen, you will need to click on the 'Manage Learners' button again and remove them.
Back to top
|
Shared Files
1. You may wish to upload group projects or performances using this method.
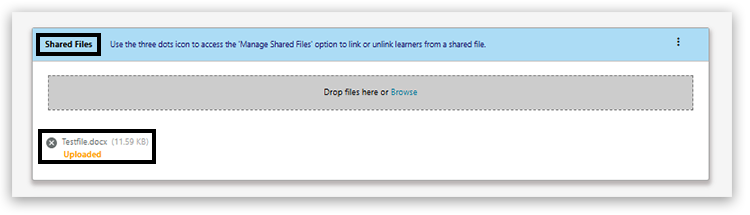
To upload a file and assign it to multiple learners, you must drop the files or use the browse option in the 'Shared Files' area:

If you select the browse option, the file explorer will open on the machine. You can select an individual file by clicking on it, or you can select multiple files by pressing the 'Ctrl' key on your keyboard to select multiple files, then click 'Open':
2. You will see the document status of 'Uploaded':
3. Once the file status shows as 'Accepted', you will then be able to link the learners to it.
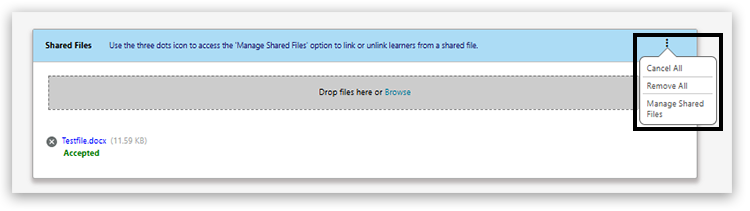
Click on the 3 vertical dots on the right of the shared files area and select 'Manage Shared Files':
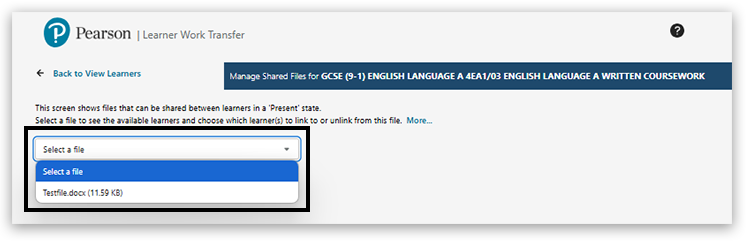
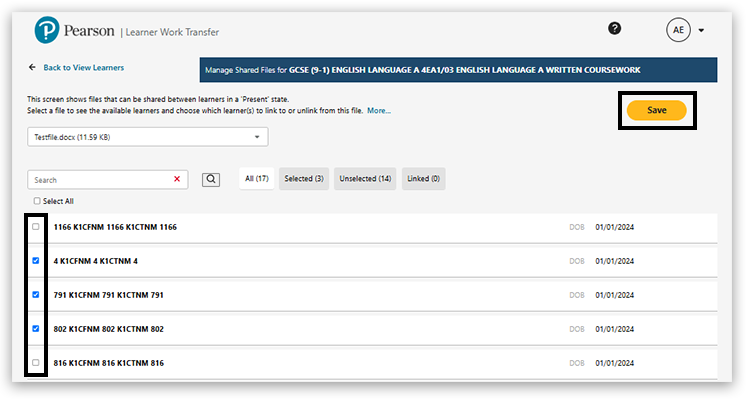
4. Open the drop-down and select the file to see a list of available learners:
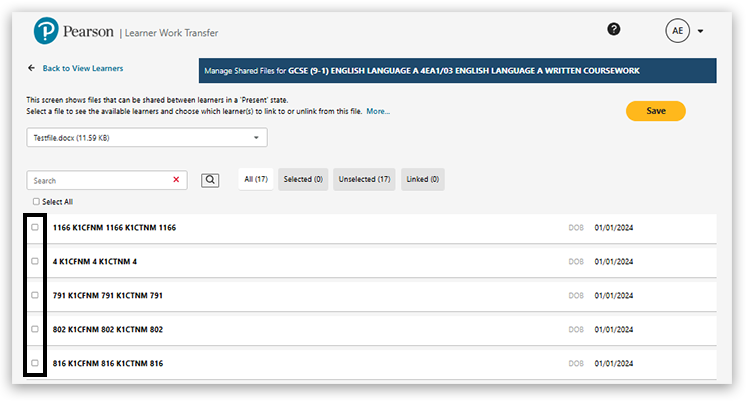
5. Use the checkboxes on the left to select all learners or select specific learners:
6. Once you have selected all the relevant learners, click the 'Save' button:
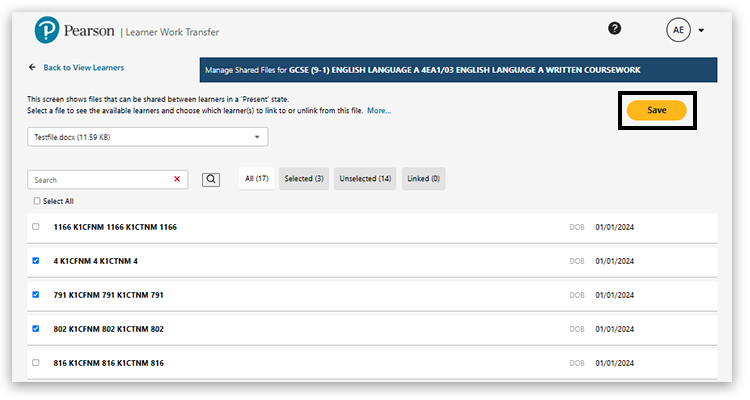
A confirmation will be shown at the top of the page:

7. Click on 'Back to View Learners' at the top or bottom of the page to return to the request:

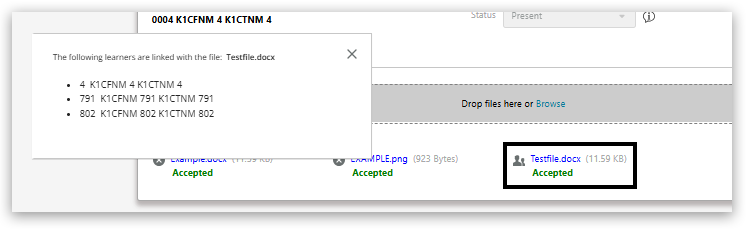
8. The 'shared file' icon next to the filename indicates that this file is associated with multiple learners. Clicking on this icon will display a pop-up list of those learners who have been associated with that file:
Any work uploaded or status changes are automatically saved, so you can log out at any time and return to a request later.
Please note: If you have incorrectly added a shared file, you will first need to unlink the learners through 'Manage Shared Files', then remove the file from the 'Shared Files' area (Please see Step 3 for how to access this area).
Back to top
|
Returning to a request
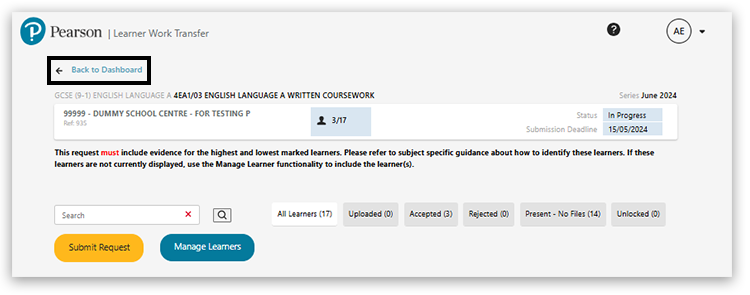
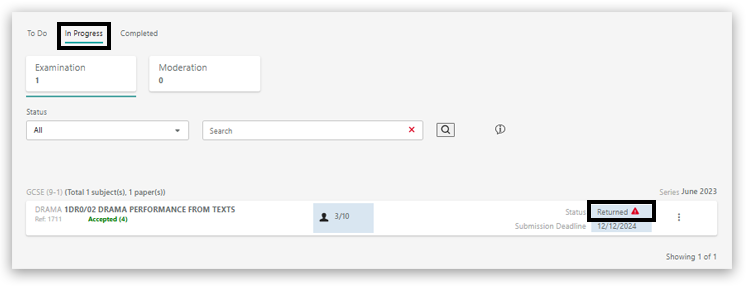
1. If you need to return to a request you have started working on, it will now be displayed in the ‘In Progress’ tab of the dashboard; click on 'Back to Dashboard':
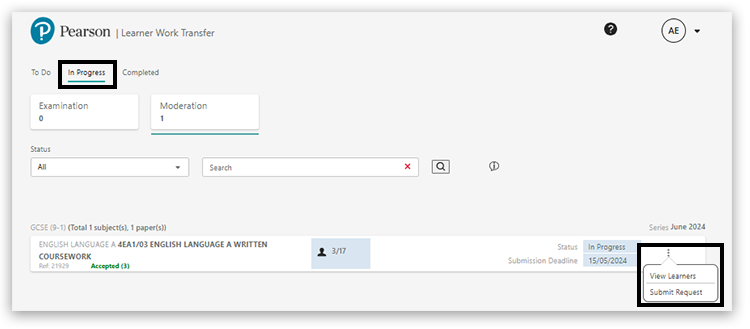
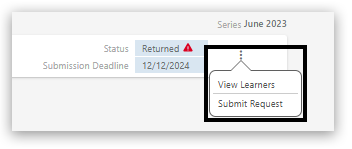
2. Click on the 'In Progress' tab. You can use the 3 vertical dots on the right of the request, then 'View Learners' to access the request again:
Back to top
|
Absent Learners
Any learners absent for the assessment should have their status changed to 'Absent' using the 'Status' dropdown. This will take the place of completing an attendance register:
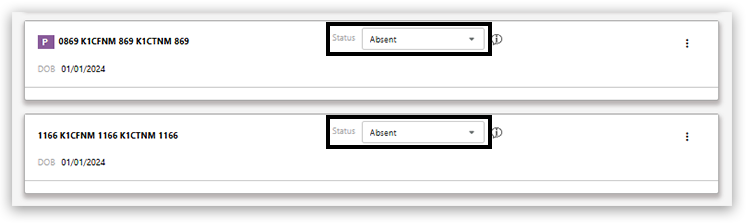
Once the status is changed to 'Absent' or 'No Evidence', the option to upload work is hidden.
Back to top
|
No Evidence (Special Consideration)
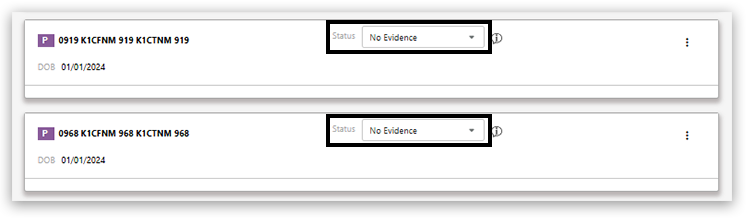
1. If a learner's work is unavailable for assessment (e.g. where special consideration is being applied for), then the 'Status' for that learner should be changed to 'No Evidence'.
Any application for Special Consideration should follow the normal process (Please see: Special Requirements: Access Arrangements & Special Considerations):
Once the status is changed to 'Absent' or 'No Evidence', the option to upload work is hidden.
Back to top
|
Removing Files
1. If you have incorrectly added a file to a learner, you can click on the 'X' next to the filename to remove the file:

2. If you need to remove a file uploaded through the Shared Files function, you will first need to unlink the learners through 'Manage Shared Files':

3. Then select the relevant file from the Shared Files area:

4. Unlink the learner and click 'Save':
Back to top
|
File checks against present learners
You can use the filter views next to the search bar to refine which learners are marked as present but do not yet have a file uploaded for them:
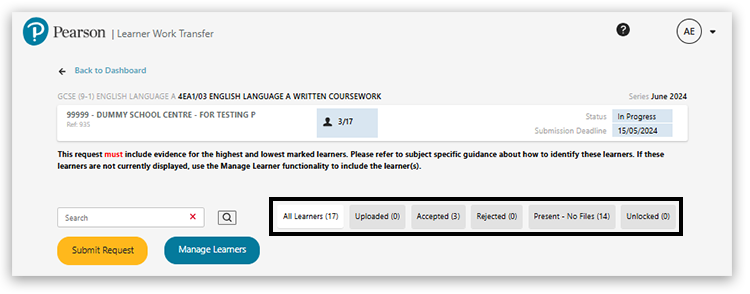
You should ensure that every learner marked as 'Present' has at least one file uploaded on the request:
Back to top
|
Administration Materials
If required, you can upload non-assessment materials, such as seating charts, to the Administration Material section by using the browse or drag and drop options:

Please note: You should only upload documents that are required for the course at the cohort level to this section.
Back to top
|
Submitting Requests
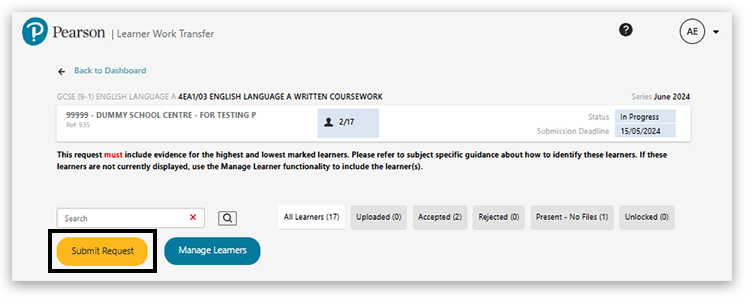
1. Once you have at least one file uploaded per learner or ‘Absent’ or ‘No Evidence’ indicated for all learners, click on the ‘Submit Request’ option. This can be found at the top of the 'View Learners' screen and from the 'In Progress' dashboard. Clicking 'Submit Request' will submit the request.
Please note: Submitting the request will send it to your moderator, meaning you can no longer add or remove evidence:
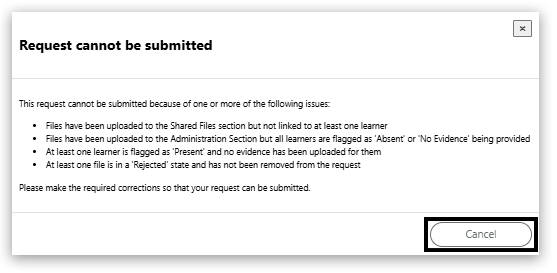
2. If you click 'Submit Request' when the request is not ready to be submitted, you will see a 'cannot submit' message' appear. Click 'Cancel' to close the message and return to the previous screen:
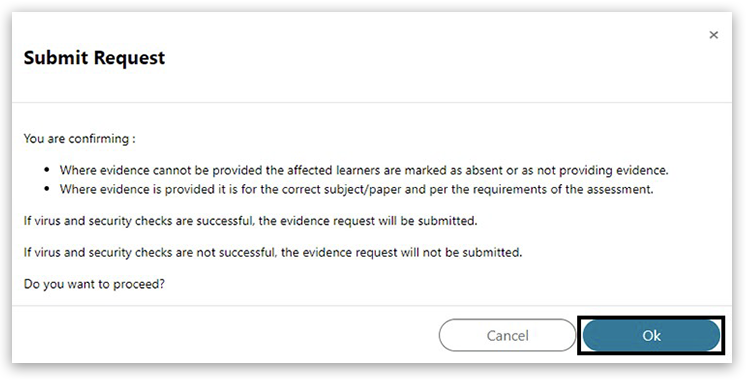
A confirmation will appear on the screen when you click 'Submit Request'. Click 'OK' to proceed:
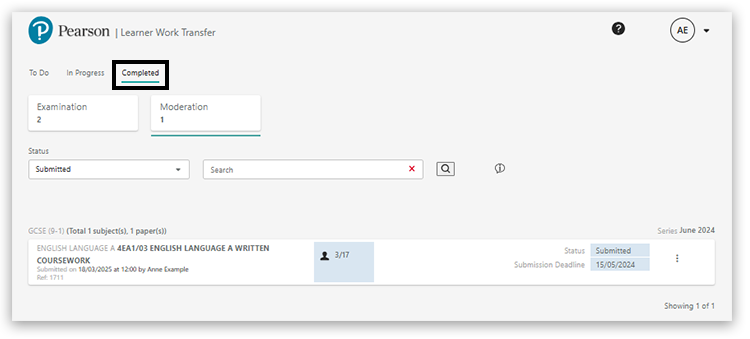
3. Once submitted, the request will move to the ‘Completed’ tab and show in a read-only state:
Back to top
|
Unlocked and/or Returned requests
If the moderator finds that the wrong material has been uploaded, they can return the ‘request’ to the centre. You should receive an email from the moderator or Pearson to explain the required action.
If your centre identifies that they have uploaded and submitted the wrong material, they will need to contact the moderator or Pearson and ask for the ‘request’ to be returned.
When a specific learner and/or the Administration Material section is unlocked or returned, the request will then show in the 'In Progress' tab of the Learner Work Transfer dashboard. The request will change from being in a 'Submitted' state to a 'Returned' state.
If you need to return to a request you have started working on, it will now be displayed in the 'In Progress' tab. If you see that the status shows 'Returned' with a red warning triangle, this means it has been returned to you by the moderator:
Click on the 3 vertical dots on the right of the request, then 'View Learners' to reaccess the request again:
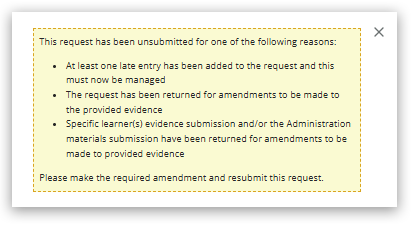
Any request which has been reverted from a Submitted state to an unsubmitted state, e.g. Returned or In Progress (C), will now see a pop-up indicating the reason why this has occurred. This is visible when you access the 'View Learners' screen:
An additional 'Unlocked' filter has been added to the 'View Learner' screen to allow you to filter specifically to unlocked submissions:

You can then add and remove files as requested before resubmitting the ‘request’ to the moderator.
Please note: Your Examiner/Assessor should have already made themselves known to your centre; however, if you are unsure who you should contact, details of your assigned moderator can be found on the Learner Work Transfer (LWT) platform. If you require assistance contacting your Moderator/Assessor, please contact us, and a Customer Services Specialist will liaise with our assessment team and arrange contact.
Back to top
|
Back to Learner Work Transfer (LWT) index page. |
|
|---|